The Copper Fungicide That Stopped Bamboo Rust on My Phyllostachys Grove
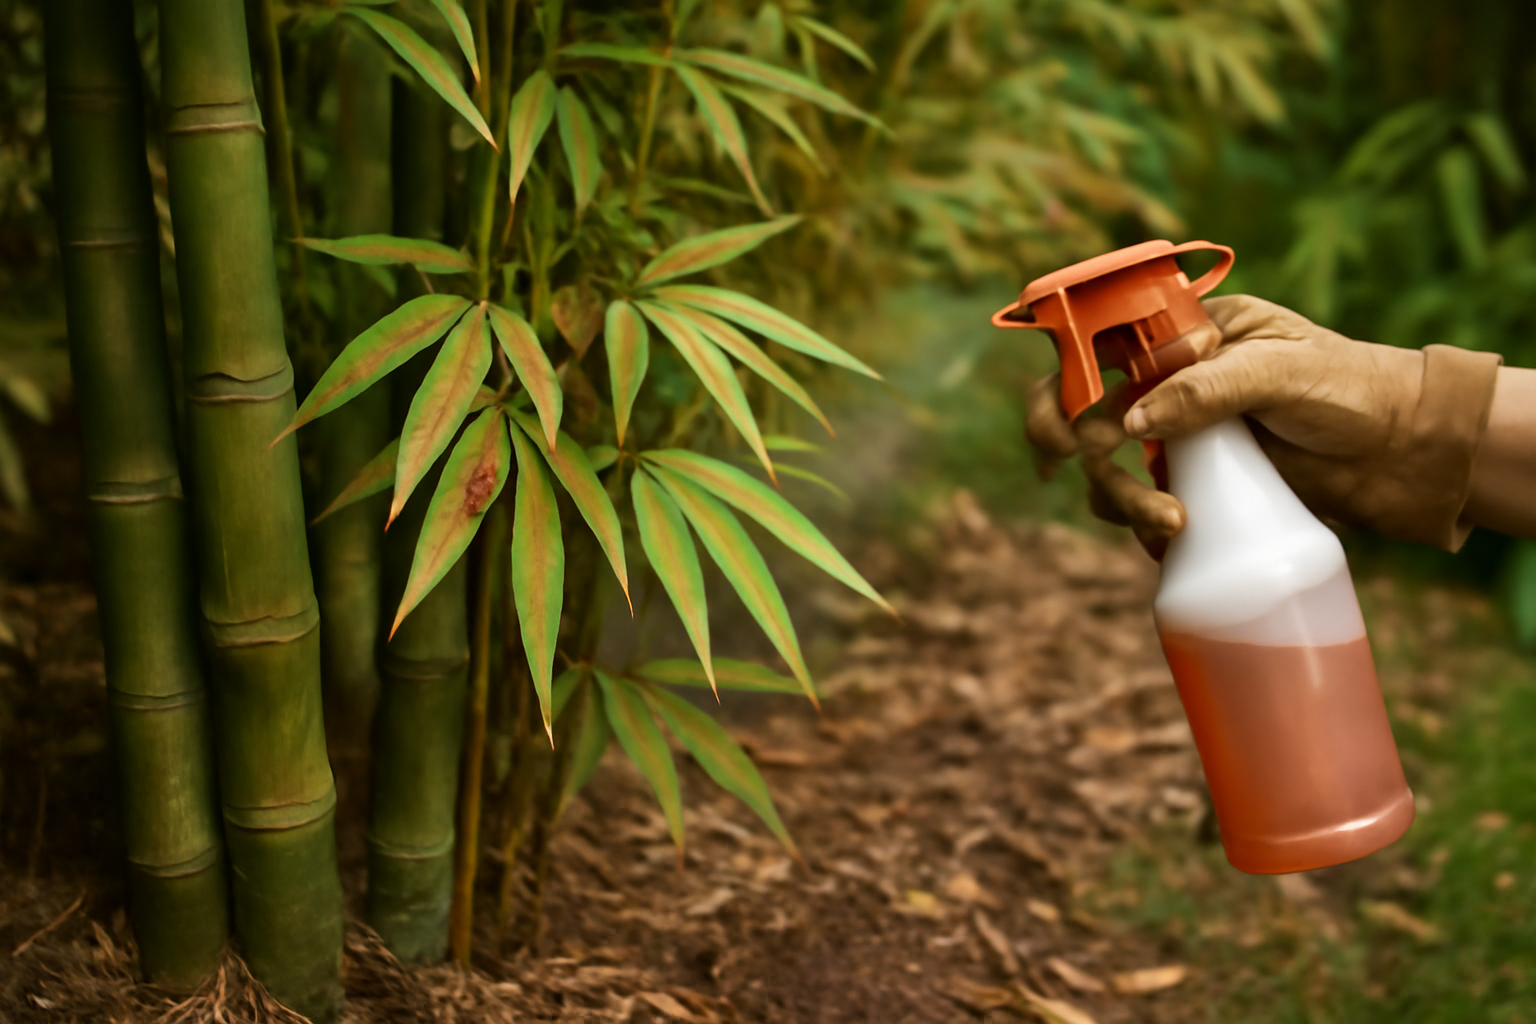
When Rust Shows Up in a Grove You’ve Tended for Years…
When Rust Shows Up in a Grove You’ve Tended for Years…
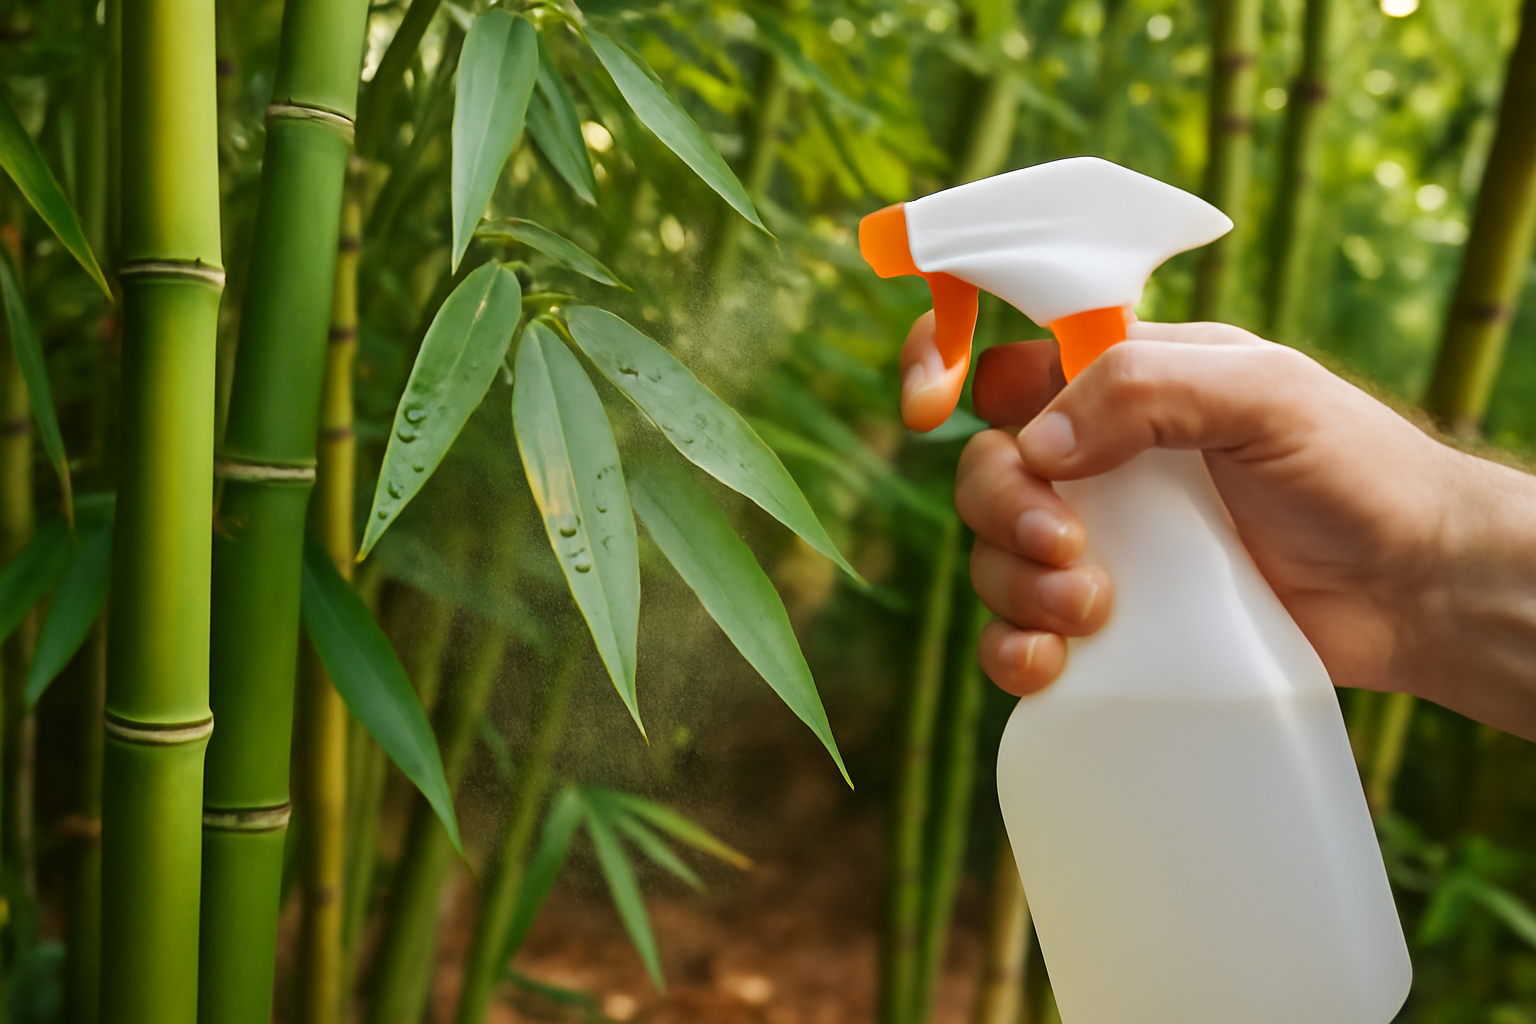
I Sprayed Neem Oil on My Bamboo Mealybug Problem for 30 Days: Honest Results…
Bamboo spider mites are tiny arachnid pests — most commonly Tetranychus urticae (the two-spotted spider mite) and Schizotetranychus celarius (the bamboo spider mite specifically) — that feed on bamboo leaves by piercing cells and sucking out their contents, causing visible damage and, in severe cases, significant defoliation. The good news is that with early identification … Read more
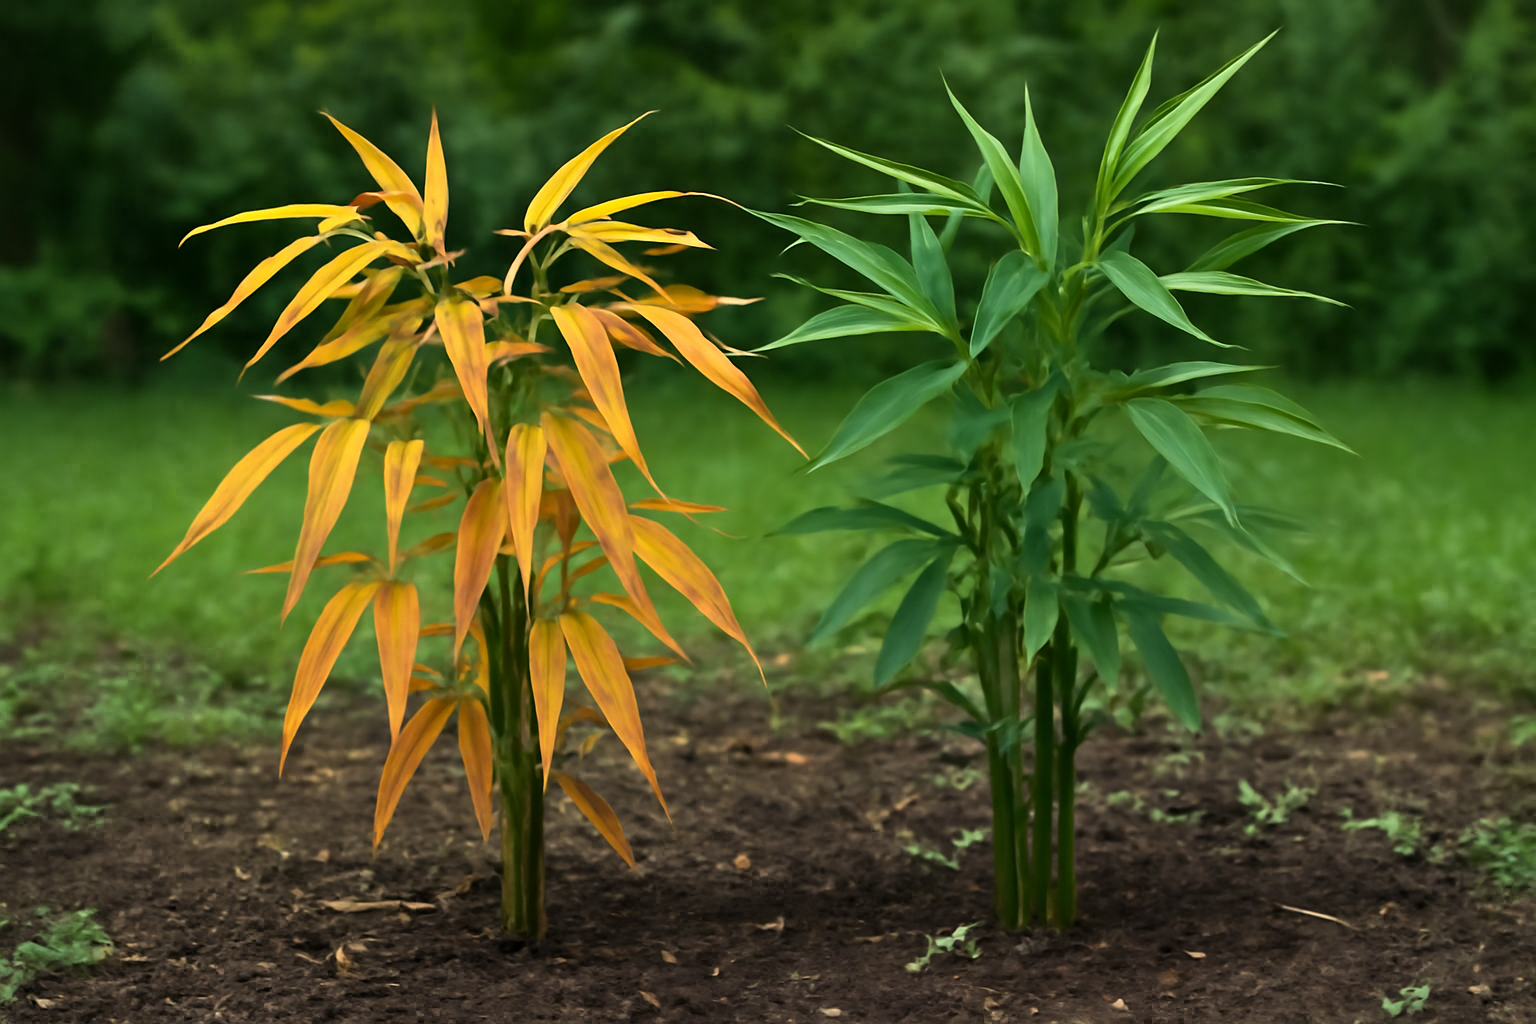
Seeing your bamboo turning yellow can be alarming, especially when your plant looked perfectly healthy just days before. The good news is that yellow bamboo leaves are one of the most common issues bamboo owners face, and in most cases, the problem is entirely fixable once you understand what’s causing it. Before you panic, take … Read more
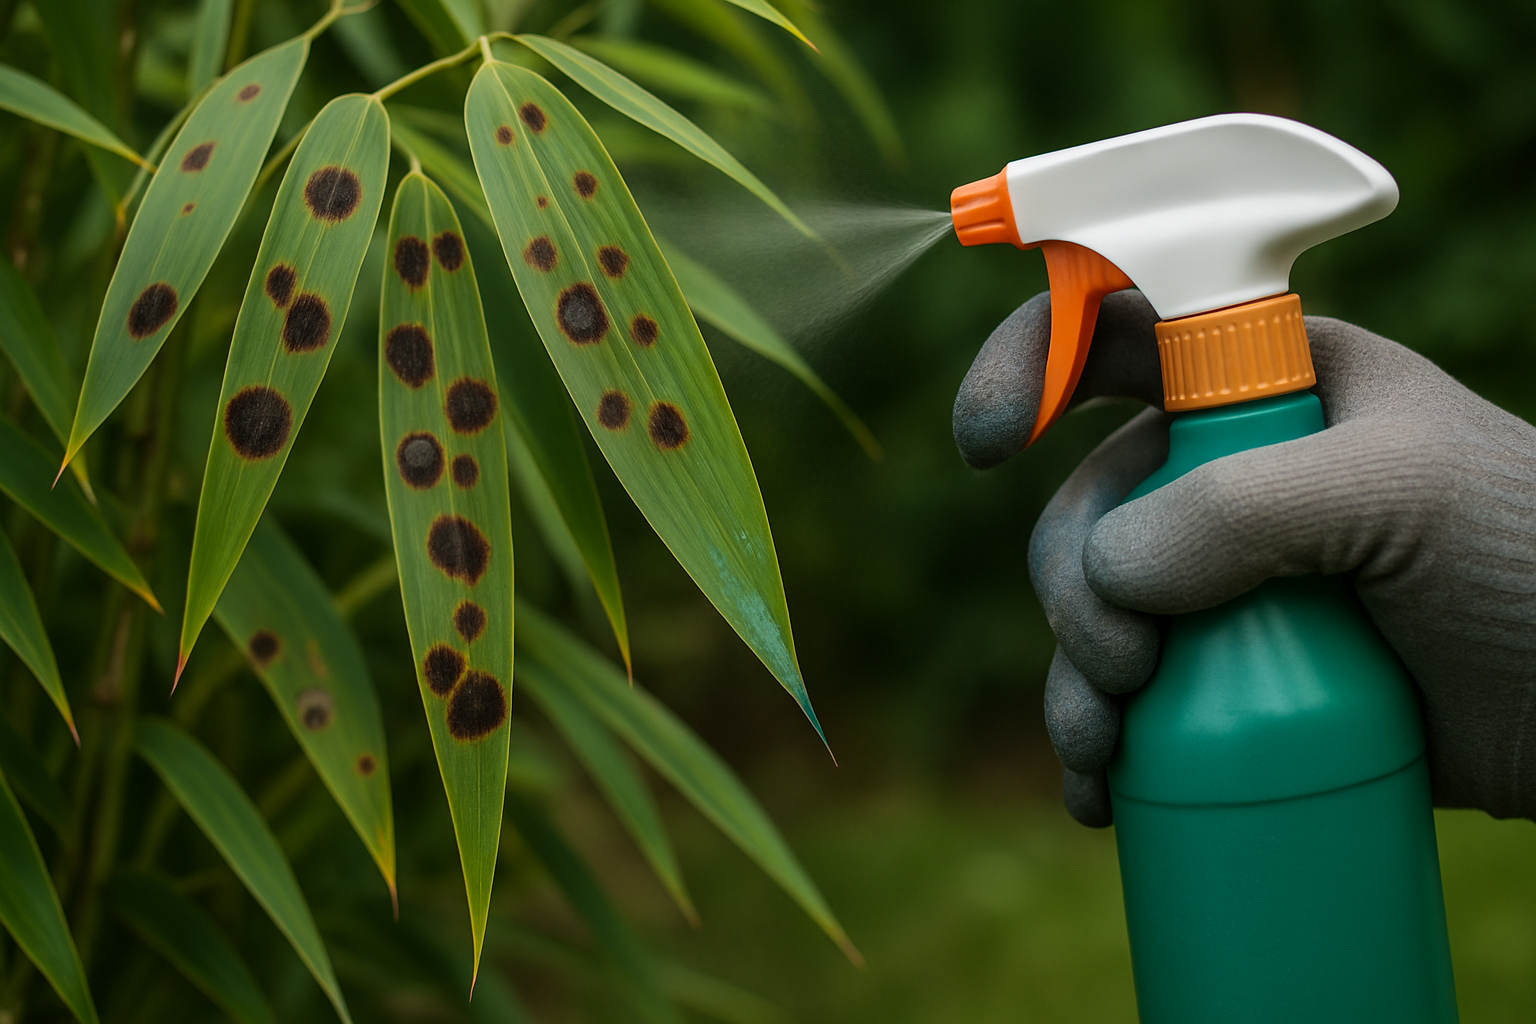
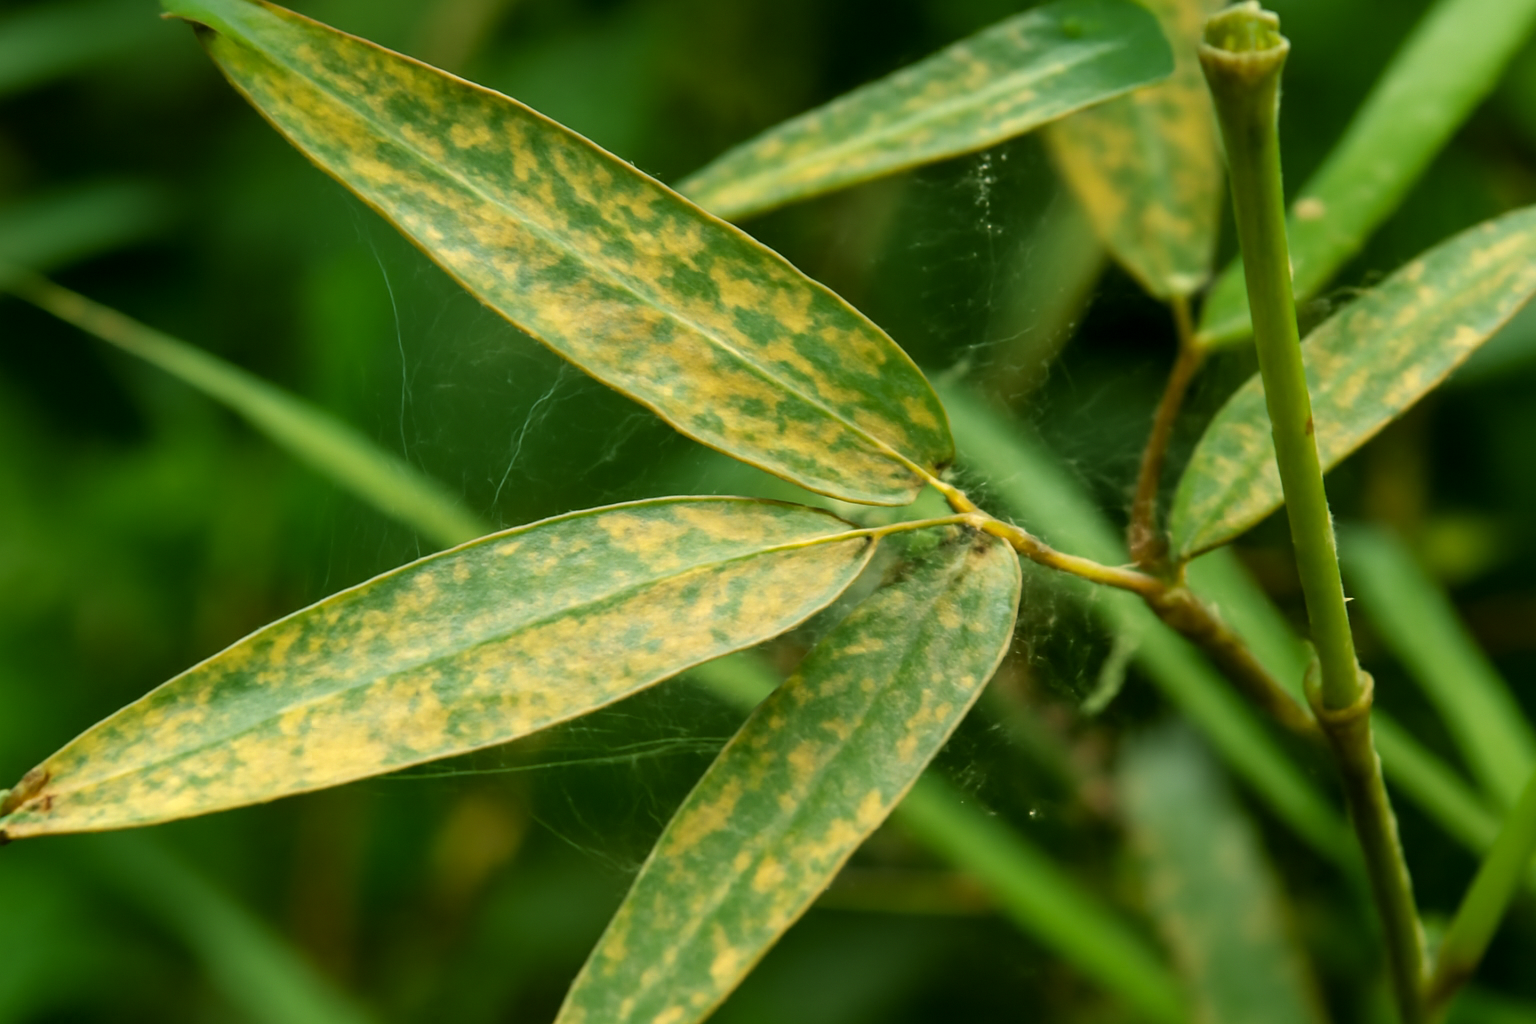
I still remember standing in my backyard on a Saturday morning, coffee going cold in my hand, staring at my beloved Phyllostachys aurea like someone had thrown a bucket of brown confetti all over it. Dozens — maybe hundreds — of leaves were spotted, yellowing, and dropping to the ground in little papery heaps. My … Read more
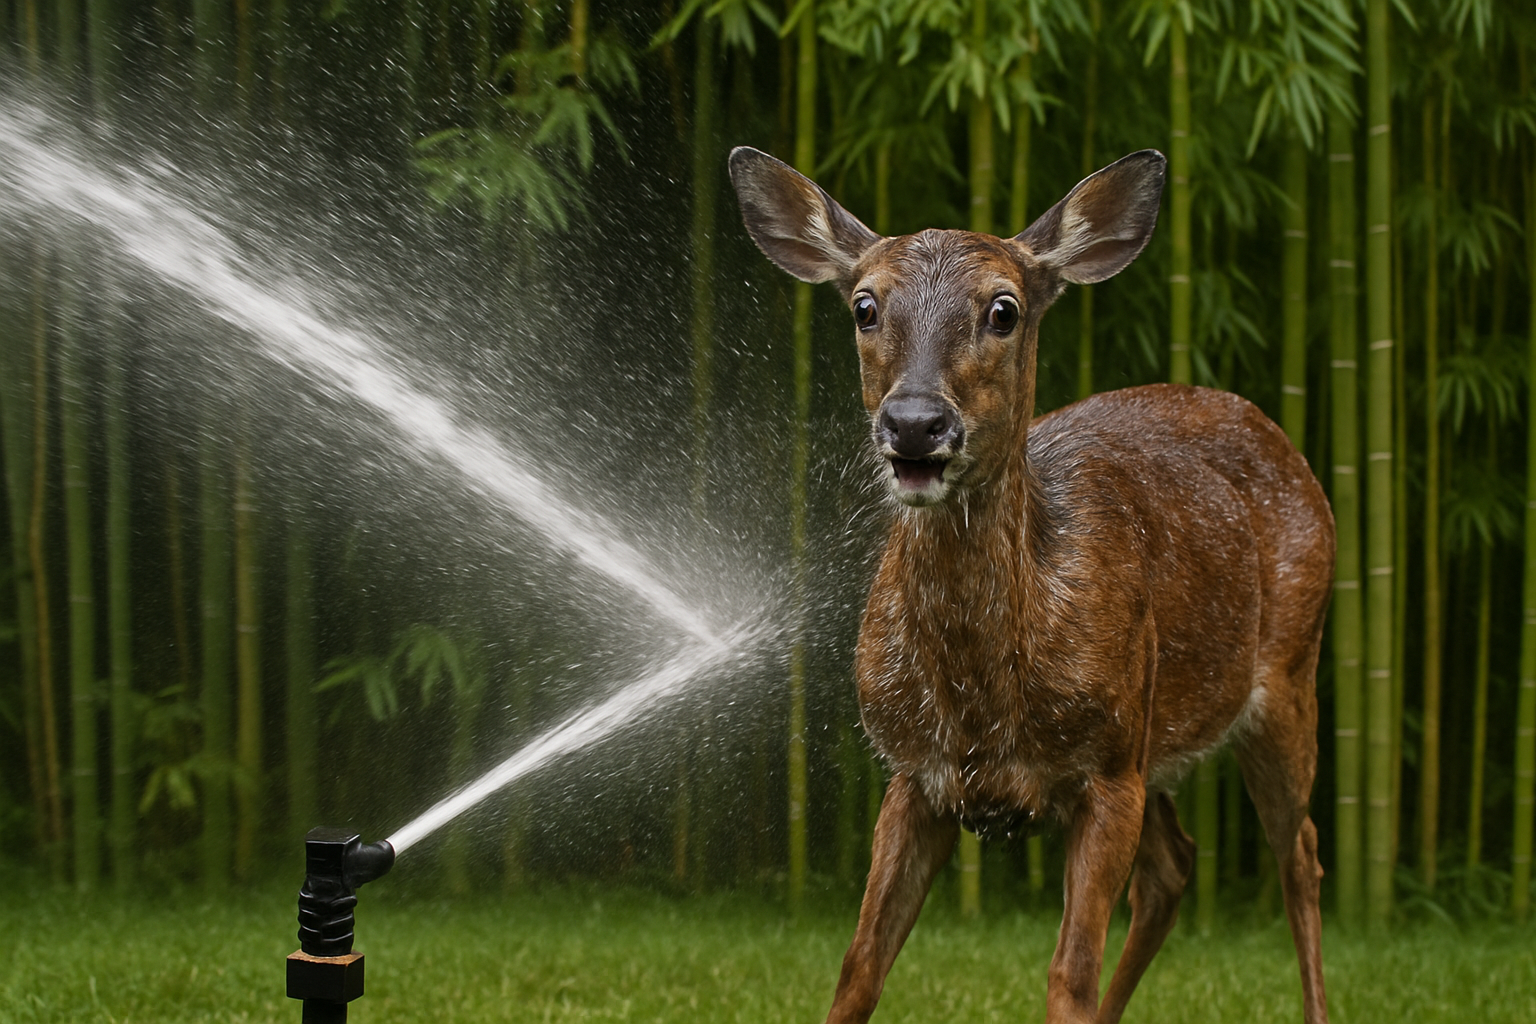
I came outside one morning in my pajamas, coffee in hand, ready to admire my beautiful bamboo grove — and found a deer standing inside it, staring at me like I was the one trespassing. We locked eyes. She chewed slowly, deliberately, like she was making a point. That was the moment I knew I … Read more
My neighbor Sarah stopped by on a Saturday morning with fresh-baked banana bread and a concerned look on her face. “Hey, I don’t want to be weird,” she said, gesturing toward the back corner of my yard, “but is your bamboo supposed to look like that?” I followed her gaze to the Phyllostachys aurea I’d … Read more

I’d invited my neighbor over to show off the bamboo grove I’ve been cultivating for the past two years—you know, one of those moments where you’re secretly hoping someone will be appropriately impressed by your gardening efforts. We were walking through the back section when she stopped and pointed at one of my prized clumps. … Read more
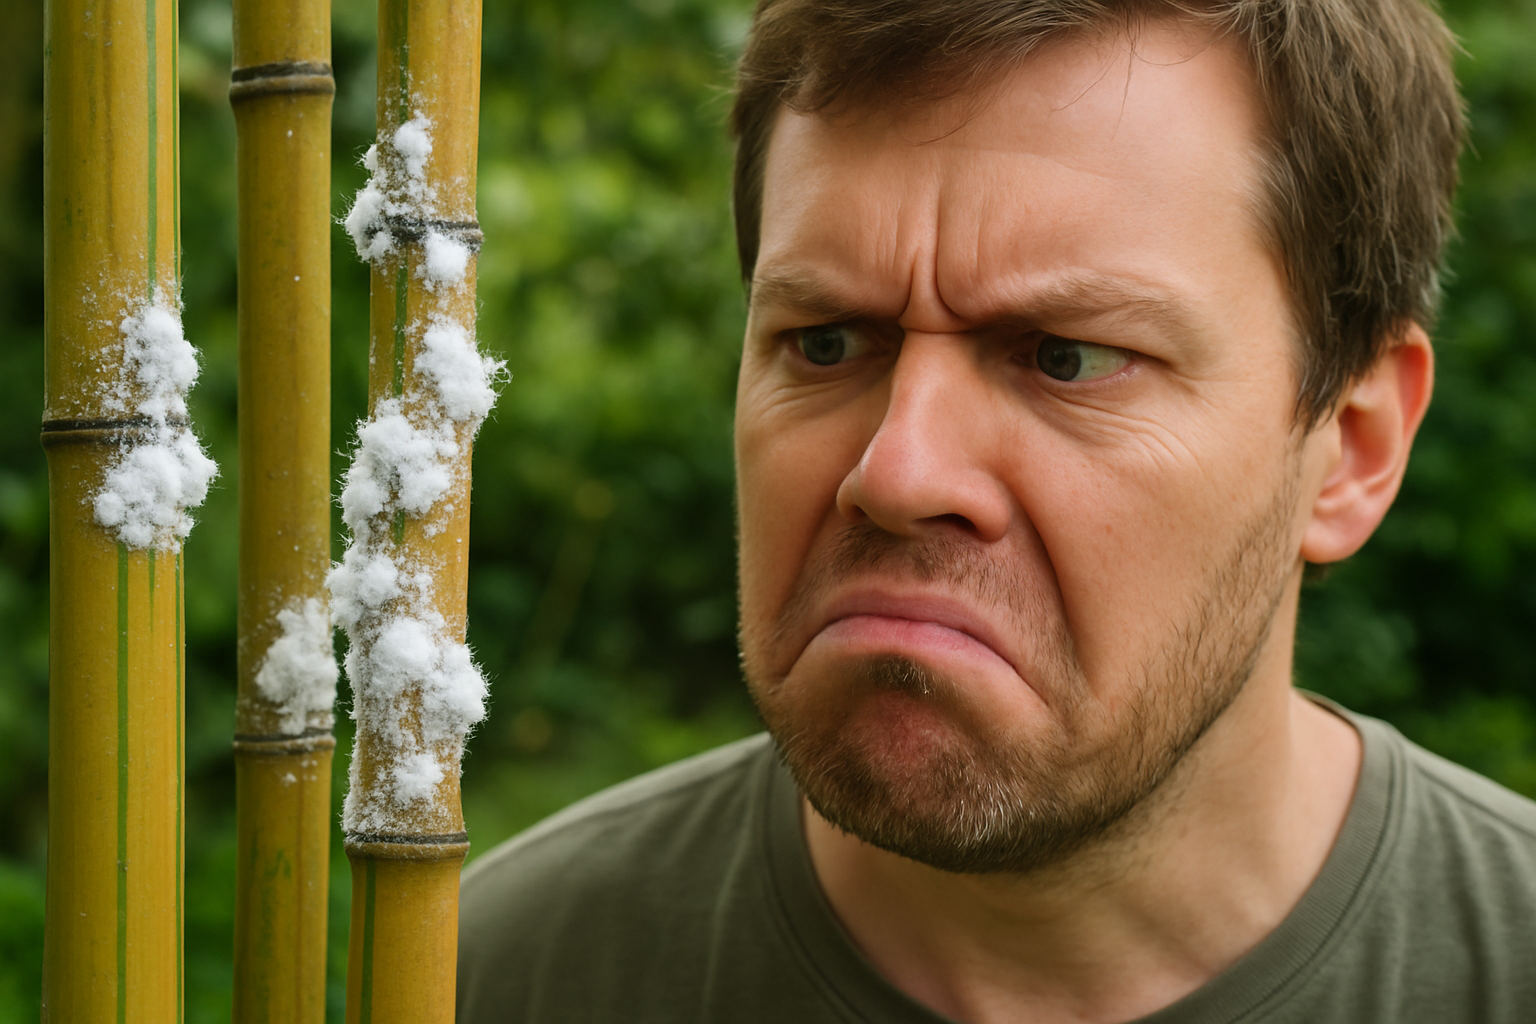
I stood in my backyard last spring, squinting at my golden bamboo like a detective who had absolutely no business being a detective. There was white stuff on it. Fluffy, cottony, suspicious white stuff. I did what any reasonable person does in this situation — I immediately convinced myself my bamboo had contracted some obscure, … Read more
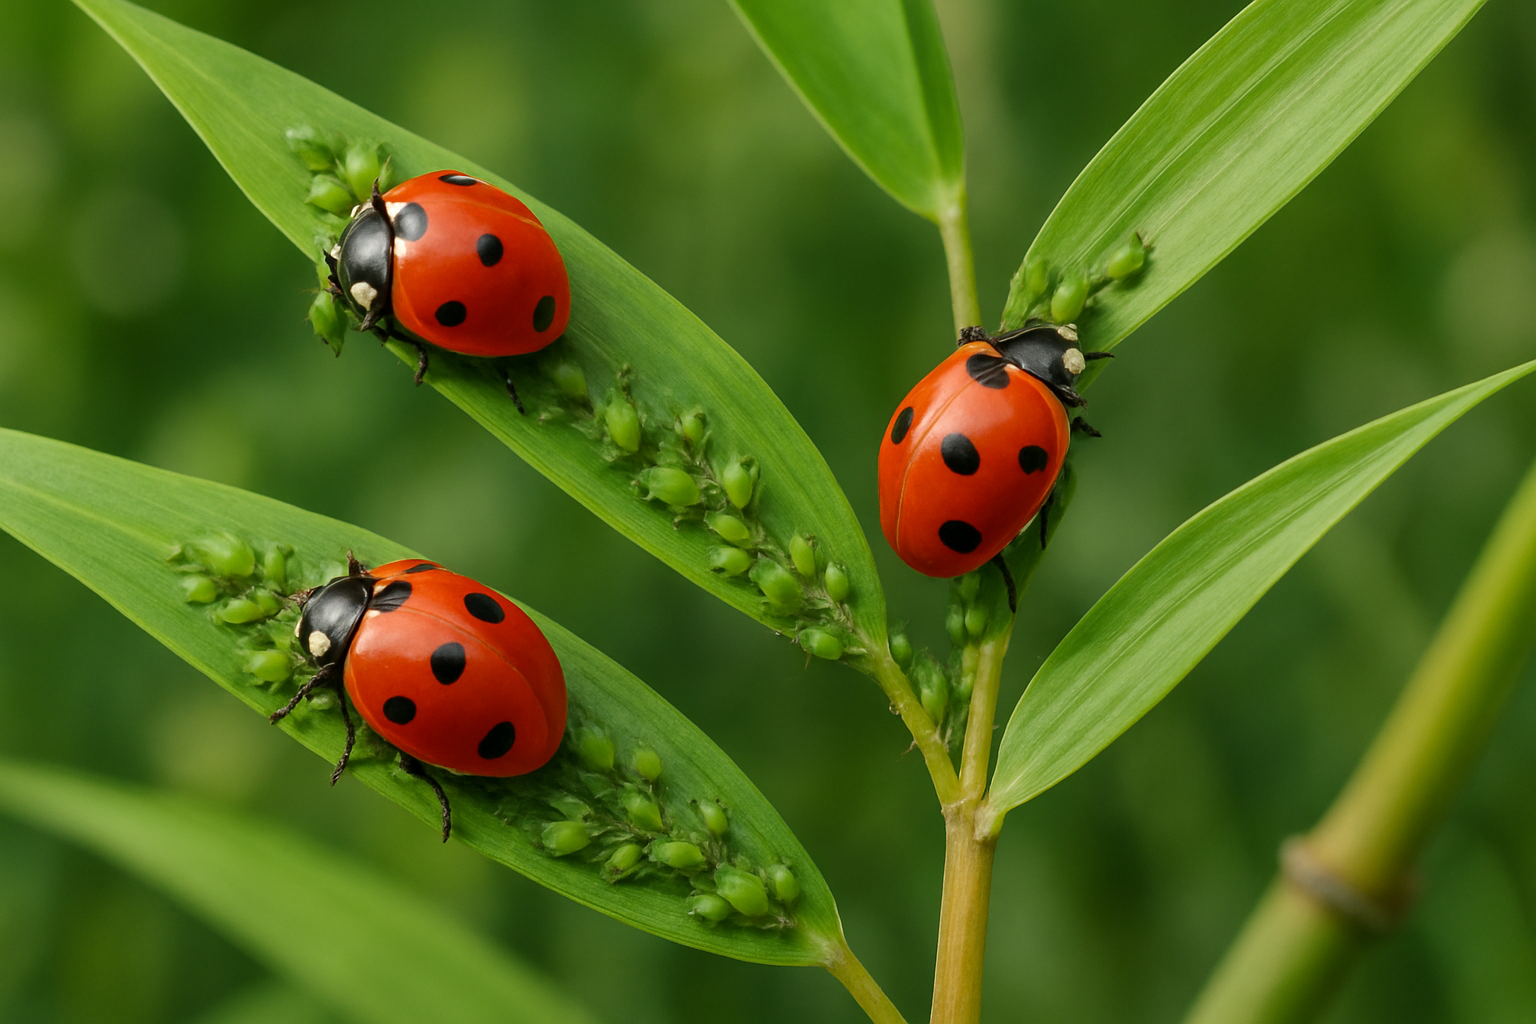
I want to tell you about the summer I accidentally let my bamboo grove turn into what I can only describe as a tiny, sticky, aphid-themed horror movie — and somehow came out the other end with a garden that looked like it belonged in a nature documentary. But first, let me back up. If … Read more