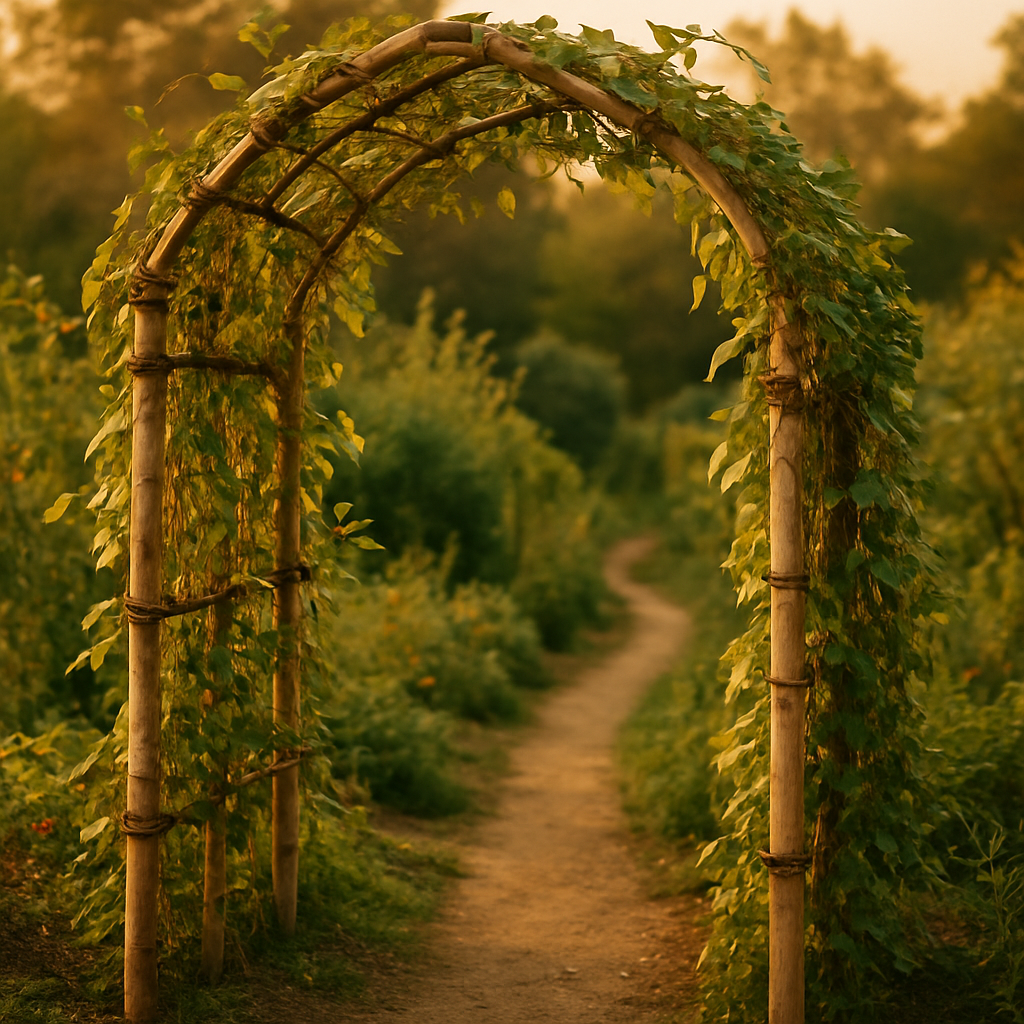
A bamboo arch was the project that finally made my side yard feel like an actual garden entrance instead of a gap between two fences. It took me two failed attempts before I understood that the whole structure lives or dies on the joints — a bamboo arch is only as strong as its lashing — and once I had that dialed in, the build itself came together in a single weekend using poles I had already cured from my own grove. If you’ve been wondering how to build a DIY bamboo garden arch, the answer isn’t complicated, but it does demand respect for the material and patience with the joinery. This guide walks you through everything I learned the hard way, so you can skip the failures and go straight to a stunning living entryway.
Why Bamboo Makes the Perfect Arch Material
Bamboo has structural properties that make it almost ideal for garden arches. It’s lightweight compared to wood, naturally weather-resistant (especially when properly seasoned), and the culms — that’s the hollow stem segment, for those new to bamboo terminology — naturally curve and bend under gentle pressure while still holding their shape. Running bamboo species like Phyllostachys edulis (Moso bamboo) and Phyllostachys nigra (Black bamboo) produce thick, sturdy culms that are strong enough to span openings without sagging, while still being workable for a home gardener with basic tools.
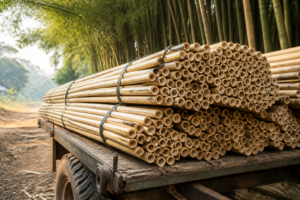
The real advantage, though, is longevity. A bamboo arch built with properly cured culms and solid joinery will outlast most wooden structures. The culms I used for my arch came from three-year-old canes — old enough to be fully mature and lignified, but not so old that they’d become brittle. I’d cut them two seasons prior and stored them horizontally in a dry, shaded spot. That curing time matters. Green bamboo will split, twist, and fail under stress. Cured bamboo is stable, predictable, and genuinely beautiful.
Selecting and Preparing Your Bamboo Poles
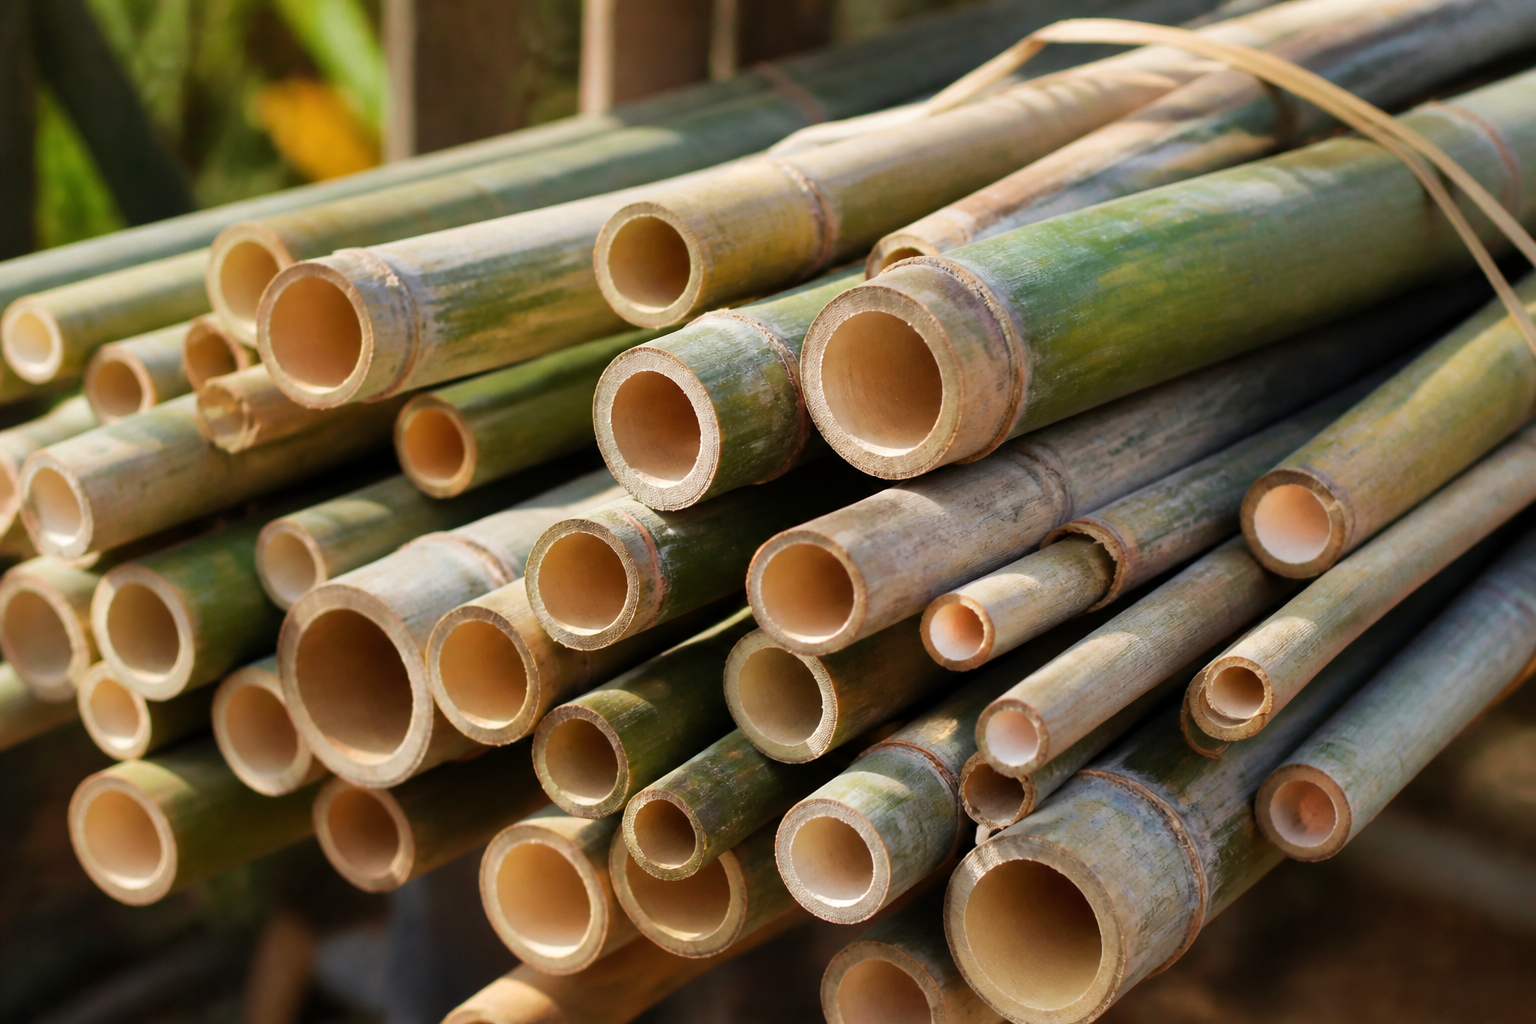
Before you even think about lashings, you need the right material. If you’re harvesting from your own grove, target canes that are at least 2 to 3 inches in diameter at the base — thick enough to handle the structural load but manageable to work with. If you’re sourcing bamboo from elsewhere, look for culms that are straight, without visible cracks, and that have a consistent wall thickness. Avoid poles with large knots or damage near where you’ll be drilling or lashing.
For a modest arch — say, 7 to 8 feet wide at the base and 9 feet tall — you’ll need:
- Two vertical uprights: 10 to 12 feet long, 2.5 to 3 inches diameter
- Two curved crown pieces: 8 to 10 feet long, 1.5 to 2.5 inches diameter (these form the arch)
- Cross-bracing and stabilizing pieces: various lengths, 1 to 2 inches diameter
All poles should be fully cured — minimum 6 months, ideally a year. If you can’t source aged bamboo, buy it green and plan to let it cure before assembly. Patience here prevents catastrophic failure later.
Building the Frame: Step by Step
Step 1: Lay Out Your Foundation
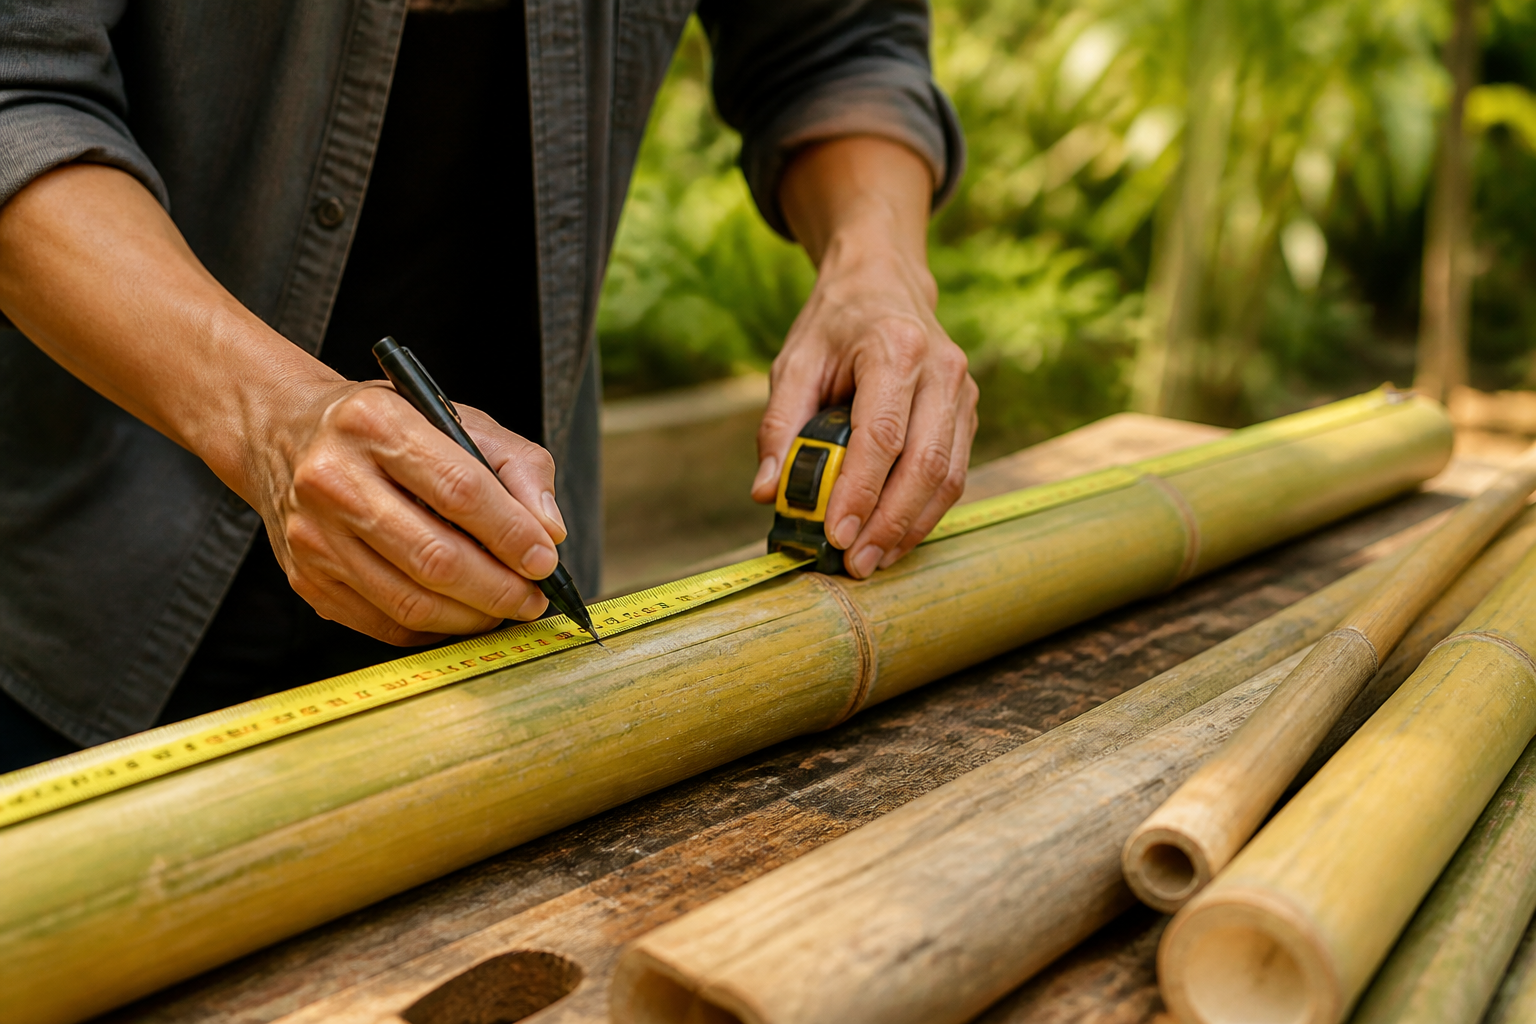
Mark out a rectangle on level ground where your arch will stand. For an 8-foot-wide arch, I marked a 8-by-3-foot rectangle, which gives you the footprint for your two uprights. Use a square and a tape measure — precision here saves headaches when you’re lashing joints 8 feet in the air.
If you’re installing the arch permanently, set concrete footings for the uprights now. I dug 18-inch-deep holes, placed the base of each upright, and backfilled with fast-setting concrete. This keeps the structure stable through wind and settling. Let the concrete cure fully — 48 hours minimum — before proceeding.
Step 2: Stand the Uprights and Brace Them Temporarily
Get your two vertical poles into position. They should be perfectly plumb — use a 4-foot level to check. Secure them temporarily with diagonal bracing (even just 1×4 lumber will work) to keep them stable while you work on the crown pieces. My first failure came because I tried to assemble the whole thing lying flat, then stand it up. Don’t do that. Build it vertical.
Step 3: Position the Curved Crown Pieces
This is where the lashing becomes critical. The two curved poles that form the arch sit on top of your uprights, meeting or overlapping at the crown. Before you lash anything, dry-fit these pieces. You want them to form a graceful curve — I aimed for about 24 inches of rise per running foot of horizontal span, which creates a classic Gothic-style arch without looking too severe.
Step 4: Master the Diagonal Lashing
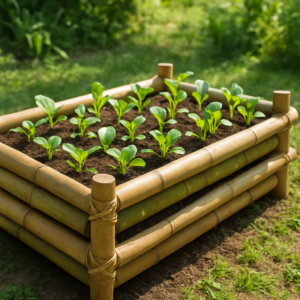
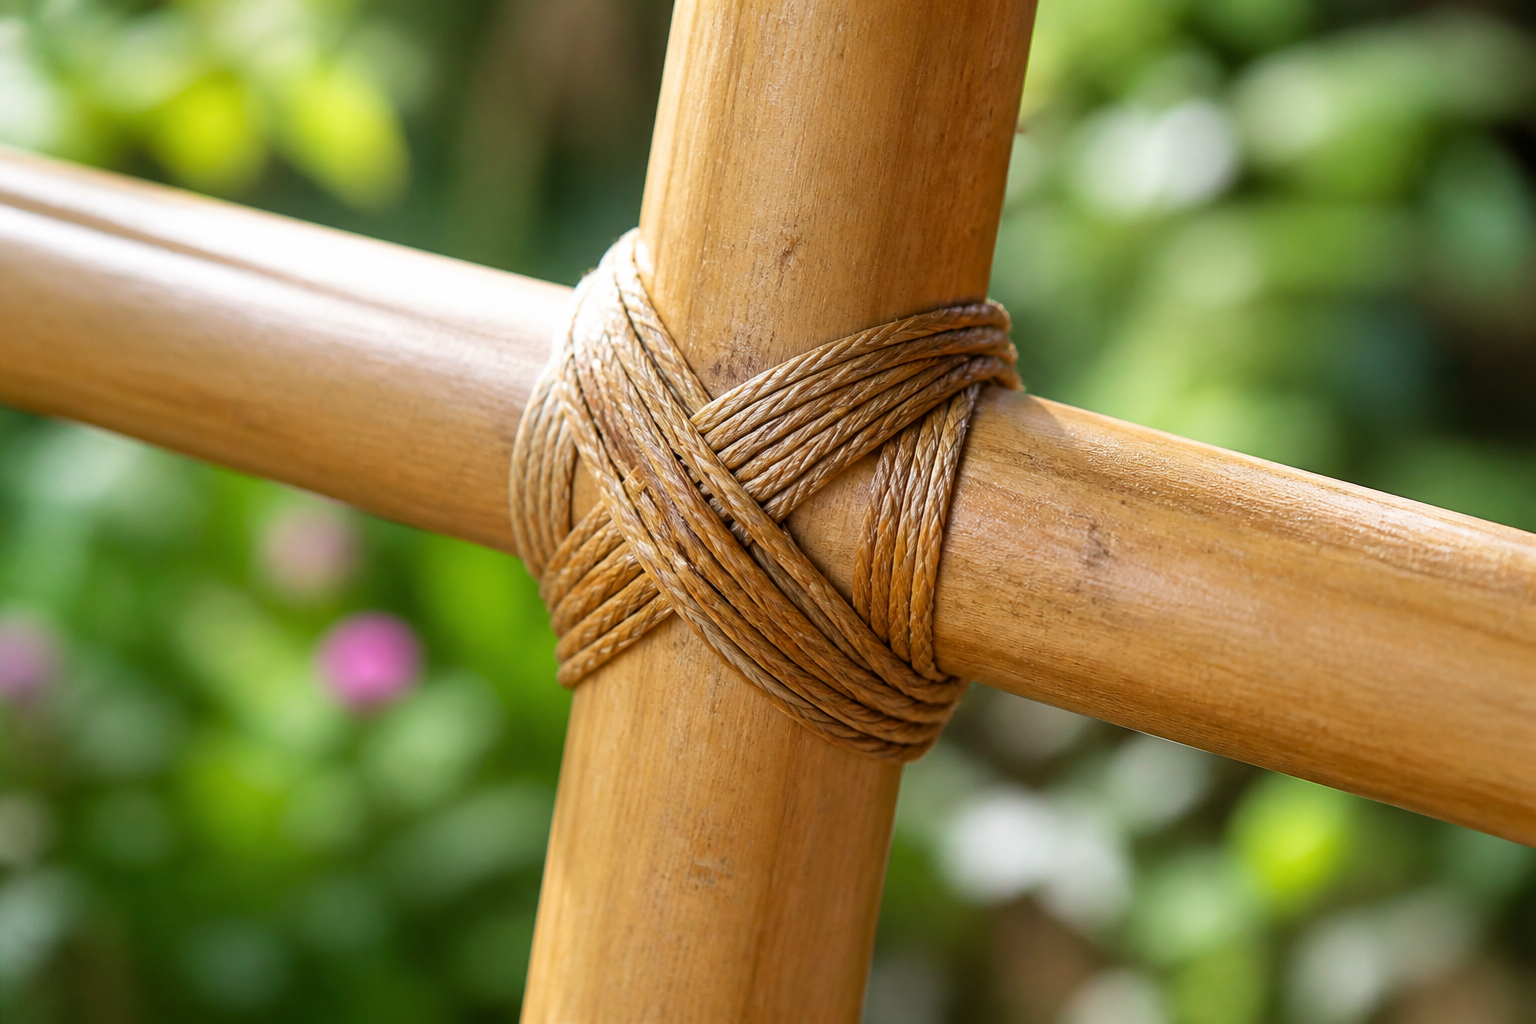
This is where the arch lives or dies. Forget nails or bolts for authentic bamboo work — they split the culms and create stress points. Instead, use a diagonal lashing technique with natural fiber cordage. I use 5/16-inch jute or manila rope, which grips the bamboo and looks beautiful.
Here’s the method I finally got right:
- Wrap rope around the two poles being joined, forming a simple X pattern from below
- Ensure the rope passes on the outside of each culm, never pinching inward
- Make 4 to 6 diagonal wraps, pulling tight but not so tight that you see the bamboo bulging
- Finish with a square lashing (horizontal wraps around both poles) to lock everything down
- Tie off with two half-hitches and trim the excess rope
The key is tension consistency. Too loose and the joint will fail under load. Too tight and you’ll crush the wall of the culm. I practice on scrap pieces first. After you’ve done five or six joints, your hands learn the feel.
Step 5: Add Cross-Bracing
Once your basic arch frame is lashed and stable, add diagonal or horizontal bracing between the uprights on the sides and back. This prevents lateral swaying and distributes wind load. I added a simple X-brace on the back side using 1.5-inch poles, lashed at the crossing point and at each upright intersection. This transformed my wobbly first draft into something genuinely solid.
Finishing Touches and Long-Term Care
Once your arch is fully assembled and the lashings are tight, consider a protective finish. I applied a natural tung oil to exposed surfaces — not to seal the bamboo (it breathes, and that’s fine), but to highlight the color and give it some UV protection. The arch naturally weathers to a silver-gray over time, which is absolutely stunning, but the tung oil slows that process if you want to keep the warm honey tones.
Plan on re-tensioning your lashings once or twice in the first year as the bamboo settles and the rope naturally stretches slightly. After that, check them annually. Look for any gaps developing at joint intersections — if you spot them, simply re-wrap that section with additional rope or retighten the existing lashing.
Plant something that loves to climb around your arch. I use Clematis jackmanii on the back face and old-fashioned honeysuckle on one side — both are vigorous, don’t get too heavy, and extend the visual interest from early summer through fall. The bamboo provides the bones; the vines provide the living decoration.
The Payoff: From Gap to Garden Gateway
Building a DIY bamboo garden arch taught me that bamboo construction is less about complexity and more about respect — respecting the material’s properties, taking time to cure it properly, and understanding that every joint carries weight. My third attempt, with those lessons locked in, gave me an arch that’s now three years old and genuinely stronger than the day I finished it. The lashings have tightened with age, the bamboo has aged beautifully, and that sad gap between the fences is now a threshold, a destination, a place where the garden begins.
If you’ve got bamboo growing nearby or access to cured culms, give this project a real weekend. Start with your lashing technique on scrap material, take your time with the frame assembly, and don’t rush the bracing. The result is something that no store-bought structure can quite match — a living entryway that improves with age and genuinely belongs in a garden grown by your own hands.
Ready to build? Start by assessing your bamboo supply this week. If you’re growing your own, mark the canes you’ll harvest next season. If you’re sourcing material, reach out to local nurseries or growers — many have stock that’s perfectly cured and ready to work. Your garden’s most beautiful entrance is just a weekend of careful lashing away.
About This Article

Written by Marcus Chen. Marcus Chen has spent 15 years cultivating and studying bamboo across 14 different species, combining commercial growing operations with extensive hands-on experience in species selection and containment. As both a grower and consultant, he specializes in practical bamboo management, helping homeowners and landscapers understand the real-world requirements for responsible bamboo cultivation. Marcus brings tested knowledge of which species thrive reliably and which present containment challenges that go beyond standard recommendations. More about this site.
Verify this against a primary source
Specifics change, and your situation may differ from the one described here. These are the authorities worth checking directly:
- American Bamboo Society — species listings and cultivation guidance
- USDA PLANTS Database — species range and identification
- USDA Plant Hardiness Zone Map — cold hardiness verification for your location