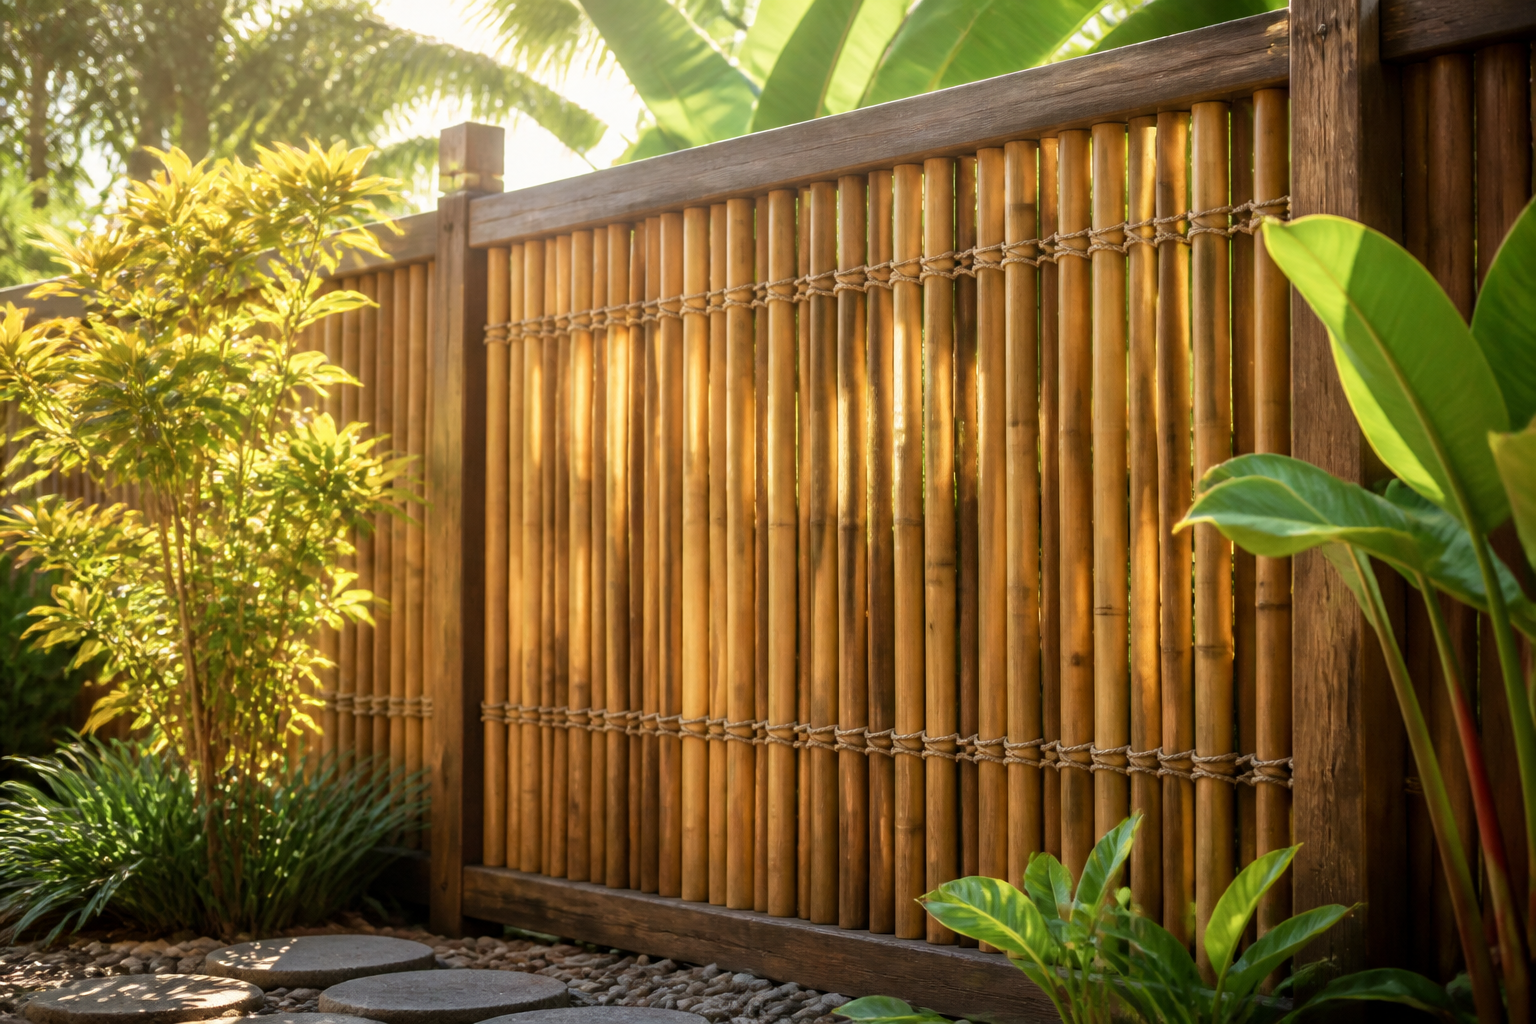
DIY Bamboo Raised Garden Bed: Building an Eco-Friendly Planter From Your Own Poles
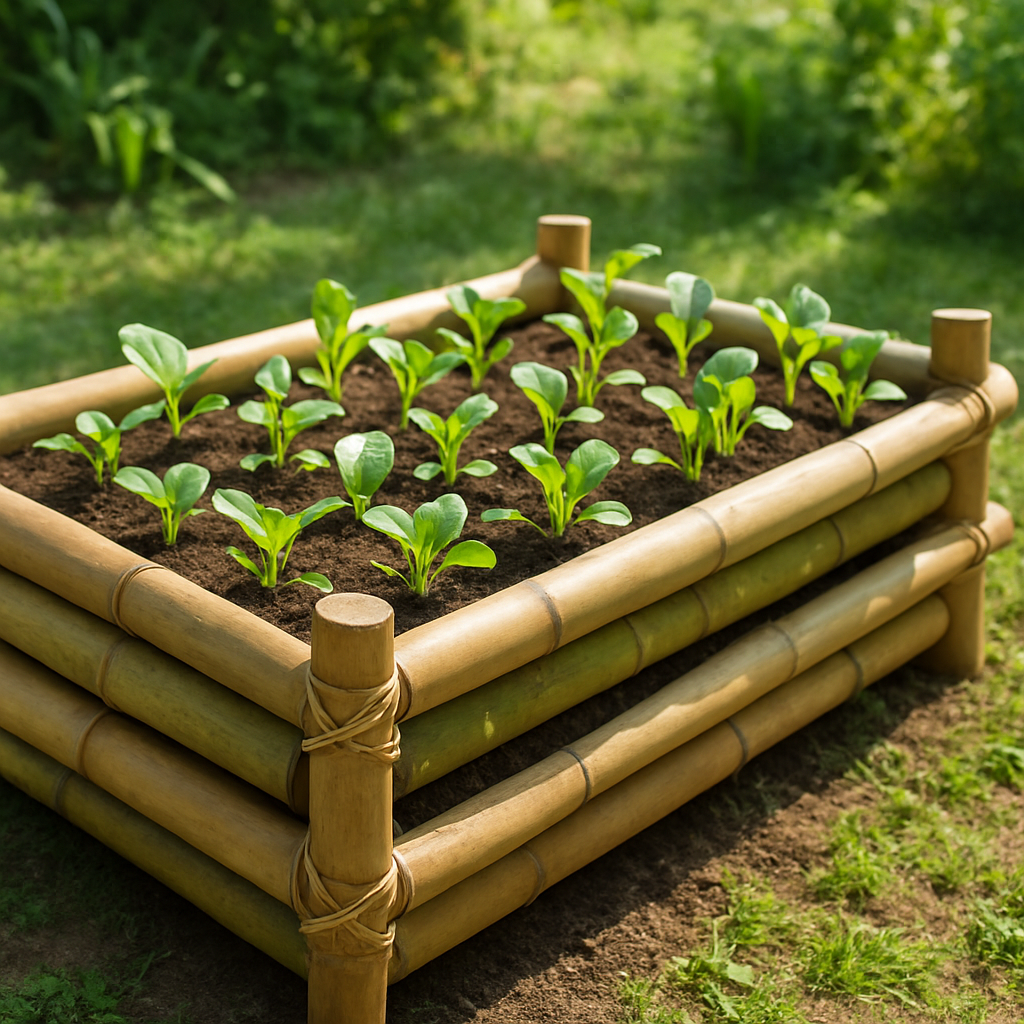
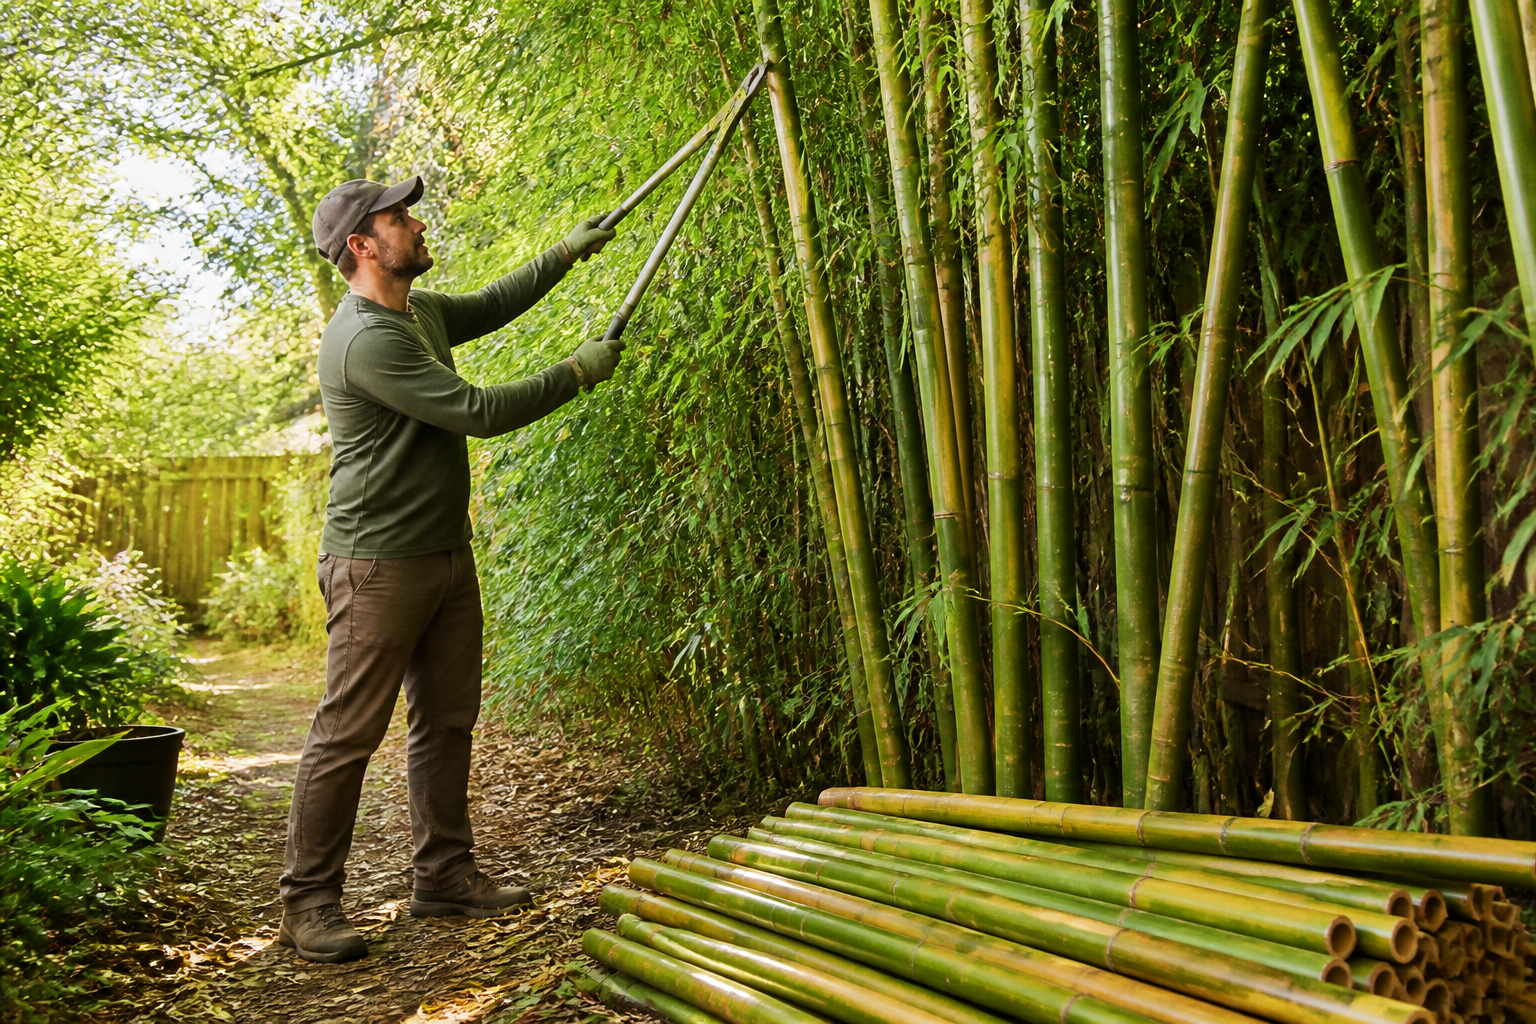
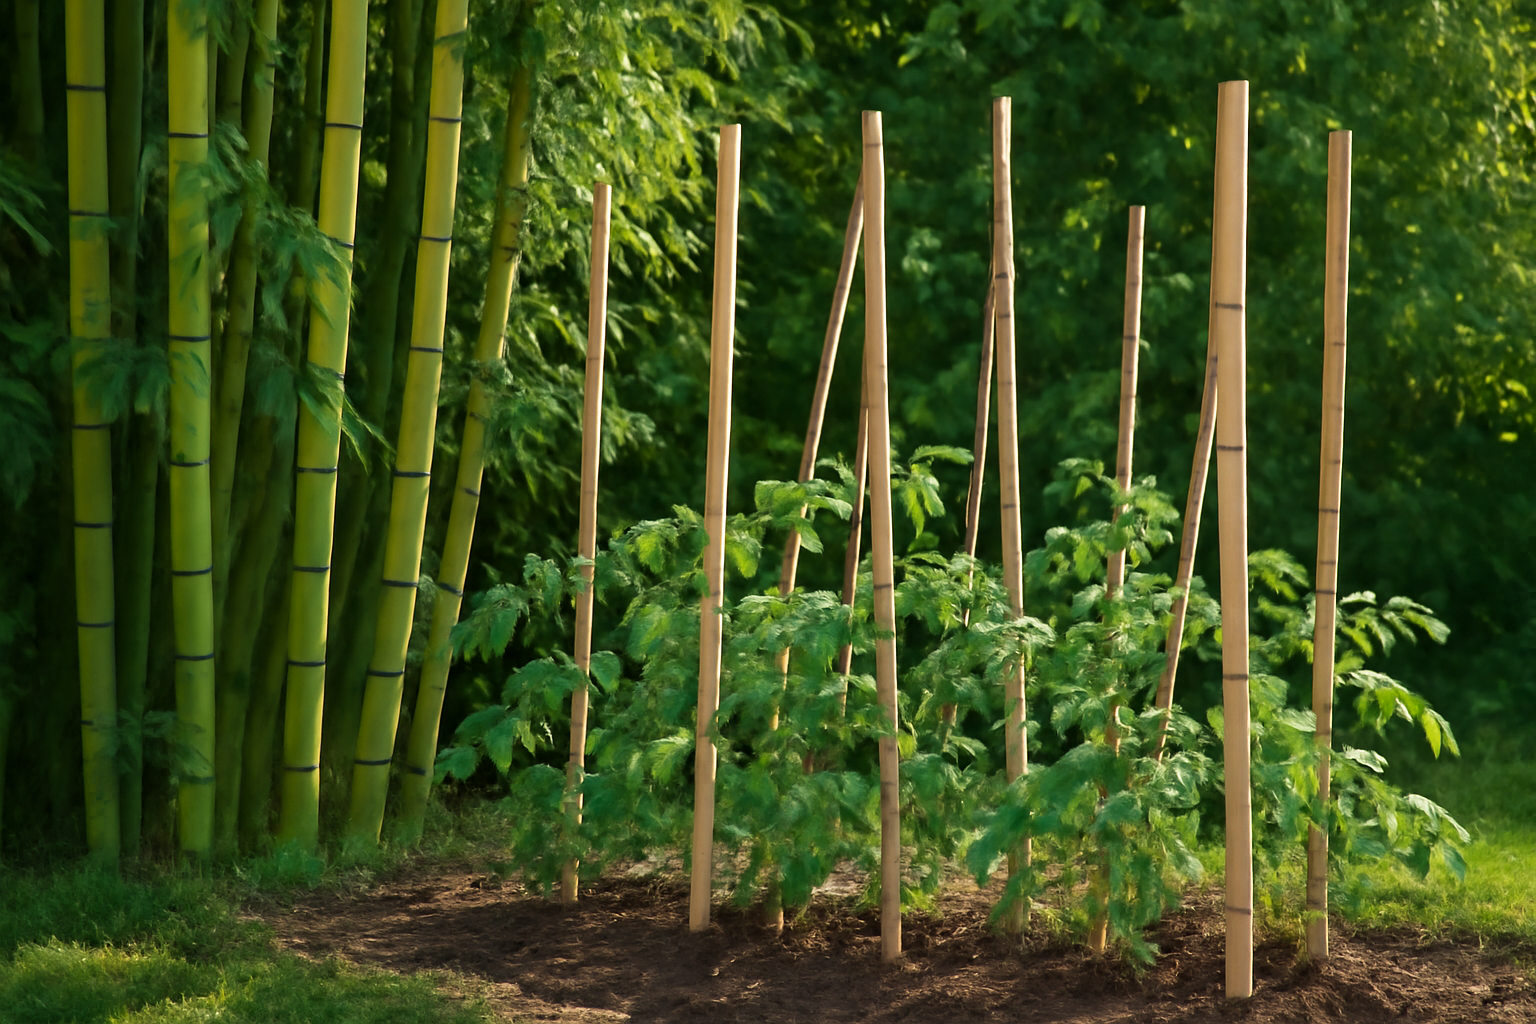
When I had a stack of thinned bamboo poles and a vegetable patch that badly needed better drainage, building my own raised bed out of the poles I already had felt like the obvious move — and it turned out to be one of the most satisfying weekend projects I have done in the garden. … Read more