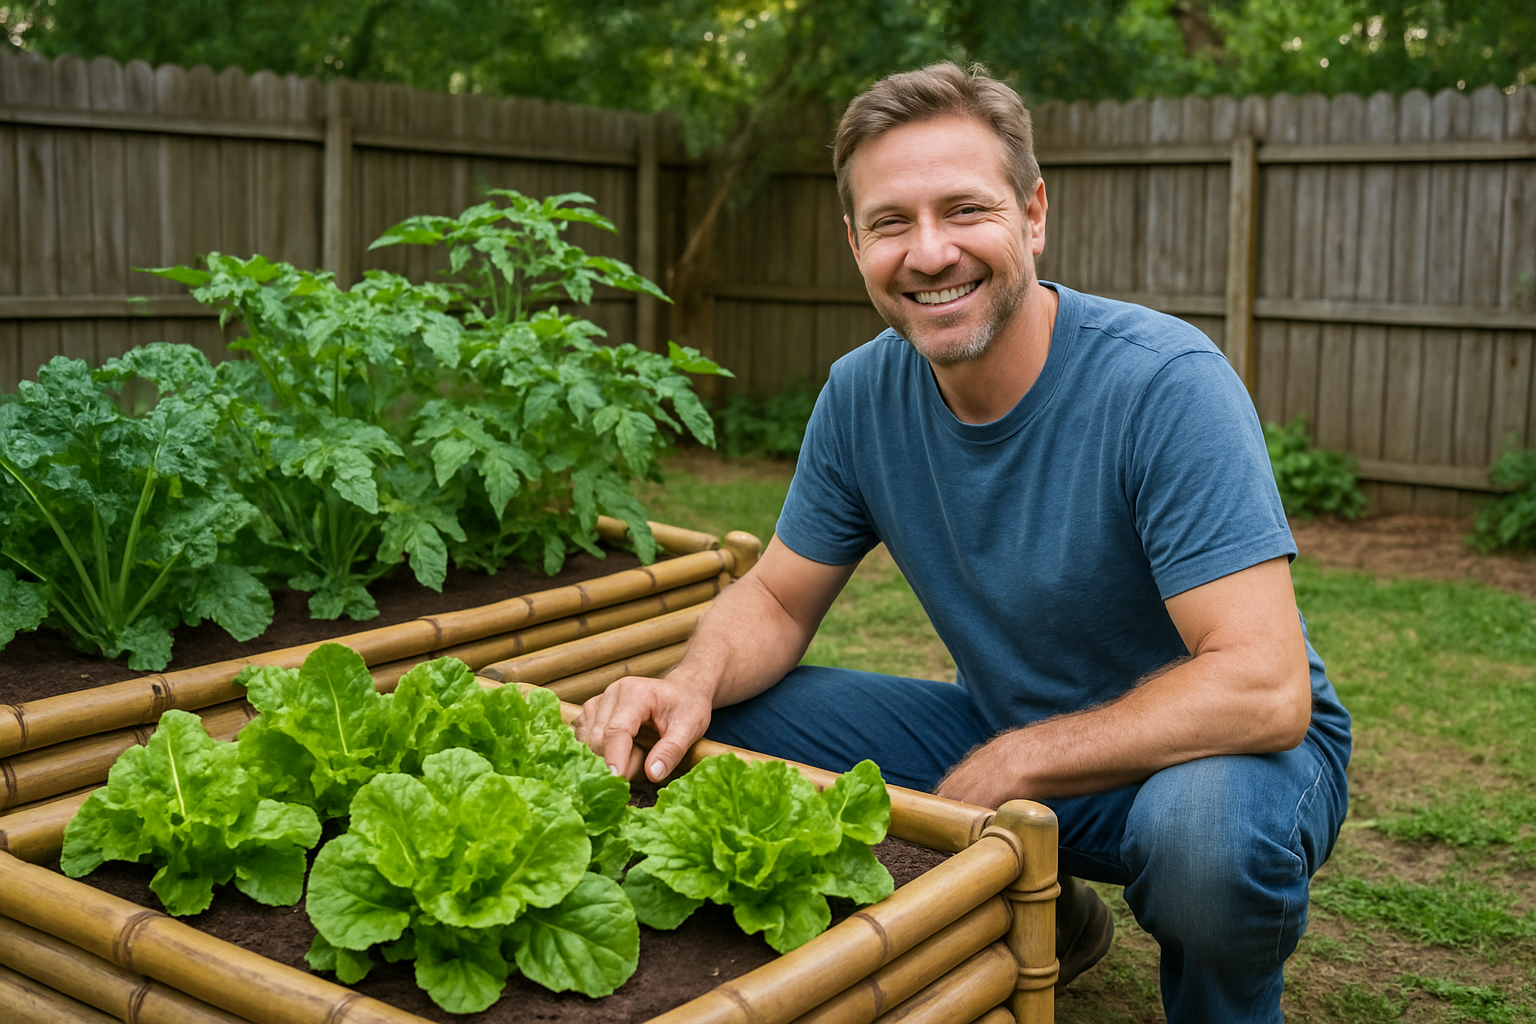
The Bamboo Fiber Planter Pots That Survived 3 Winters on My Patio
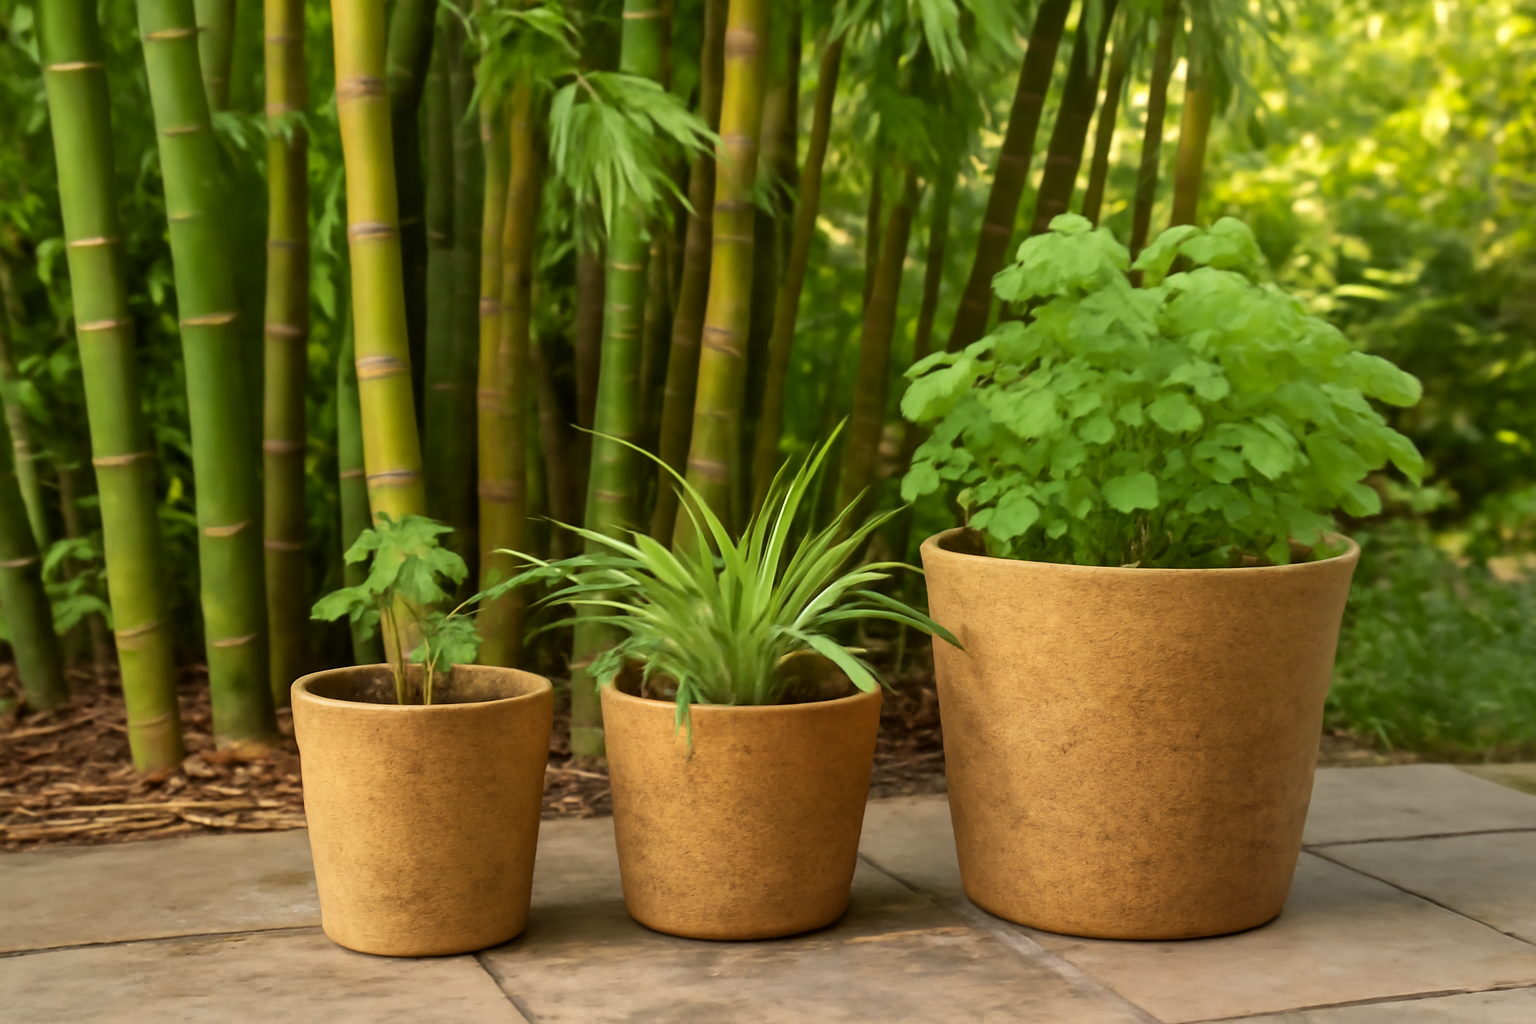
Three winters ago, I had a patio full of cracked, faded plastic pots and a serious case of plant parent guilt. Every spring, I’d drag out whatever survived — usually not much — and start over. I’d been searching for…