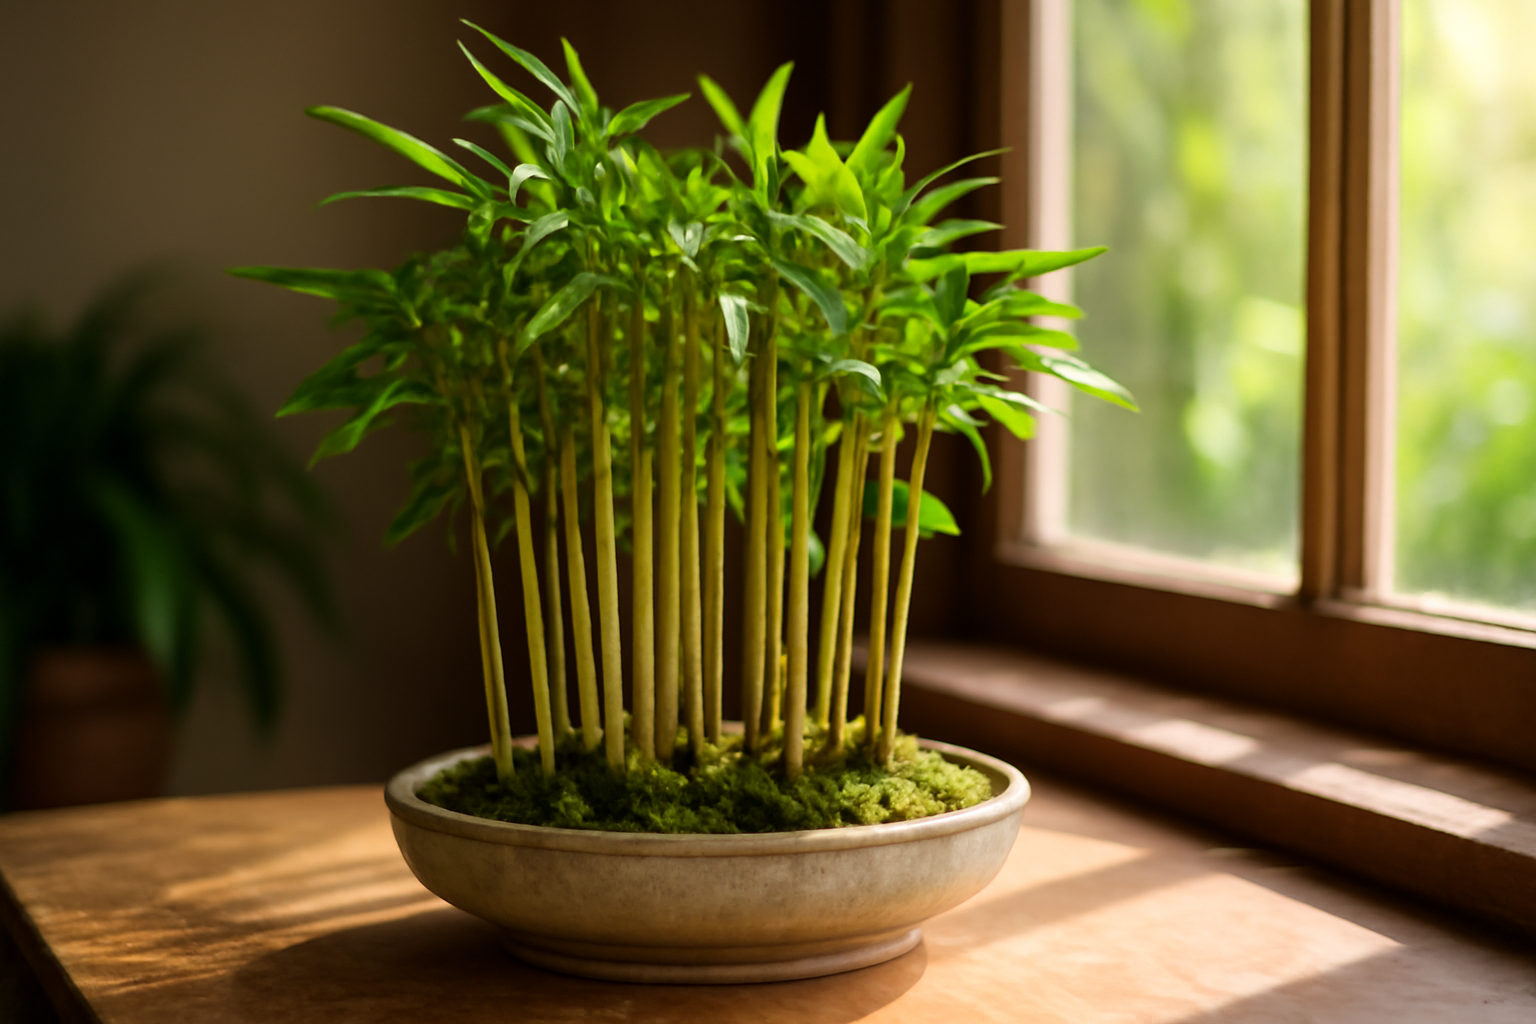
Lucky Bamboo Tower Kit for Beginners: My Indoor Growing Results After 90 Days
Lucky Bamboo Tower Kit for Beginners: My Indoor Growing Results After 90 Days…
Lucky Bamboo Tower Kit for Beginners: My Indoor Growing Results After 90 Days…
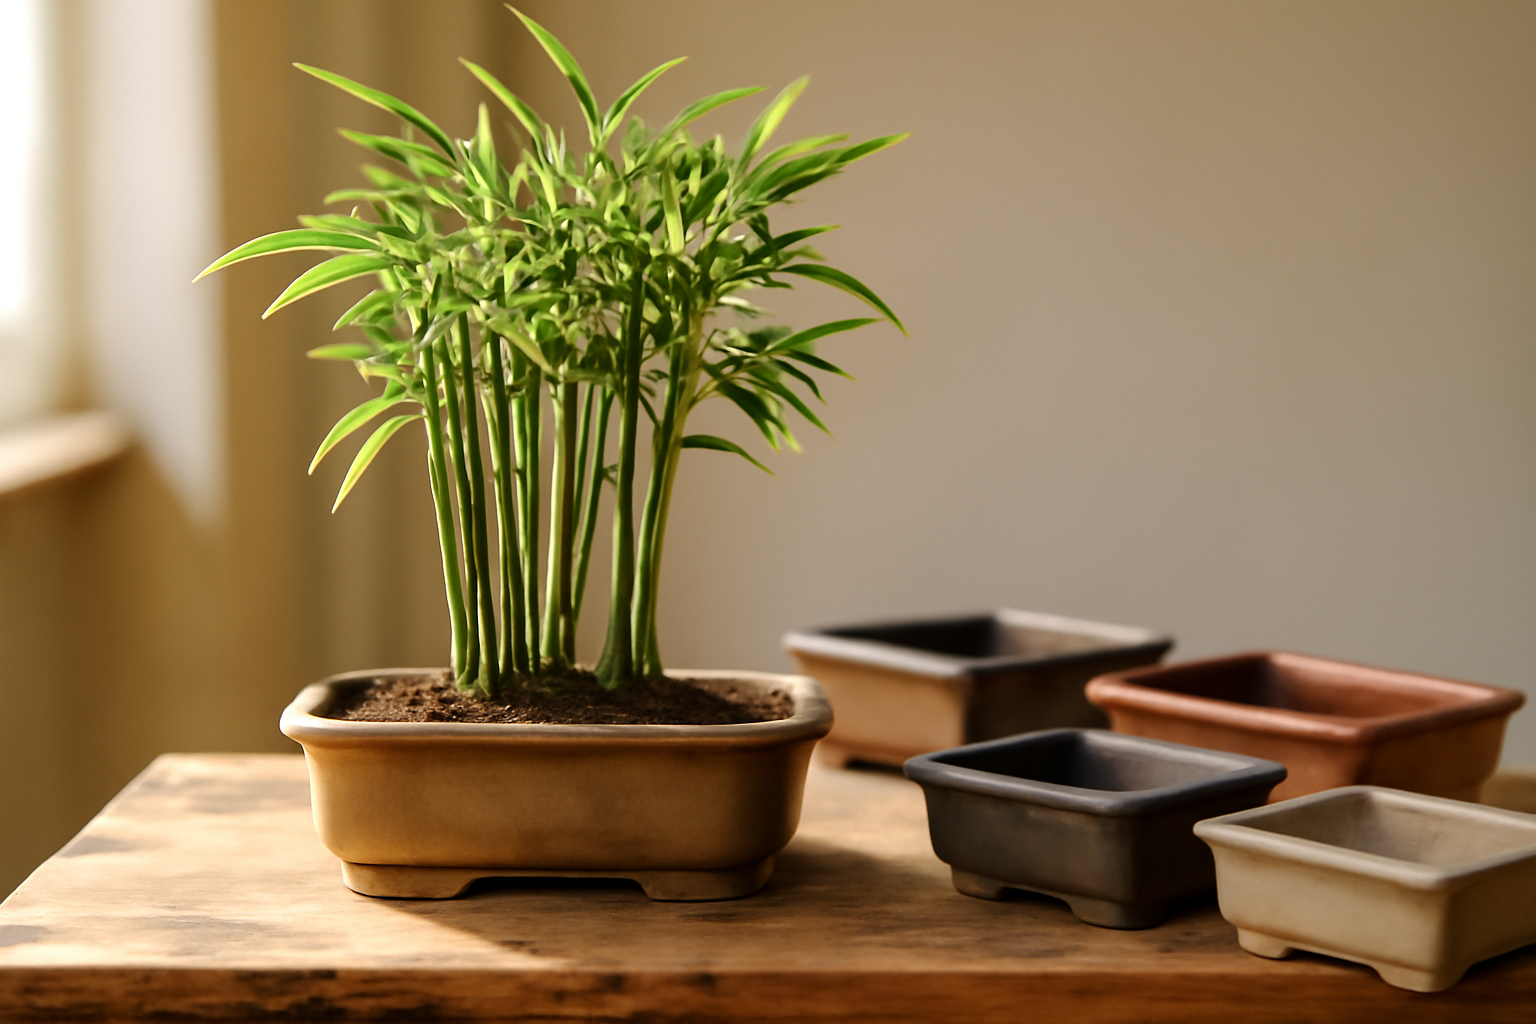
Best Shallow Bonsai Training Pots for Bamboo: What I Learned After Three Seasons…
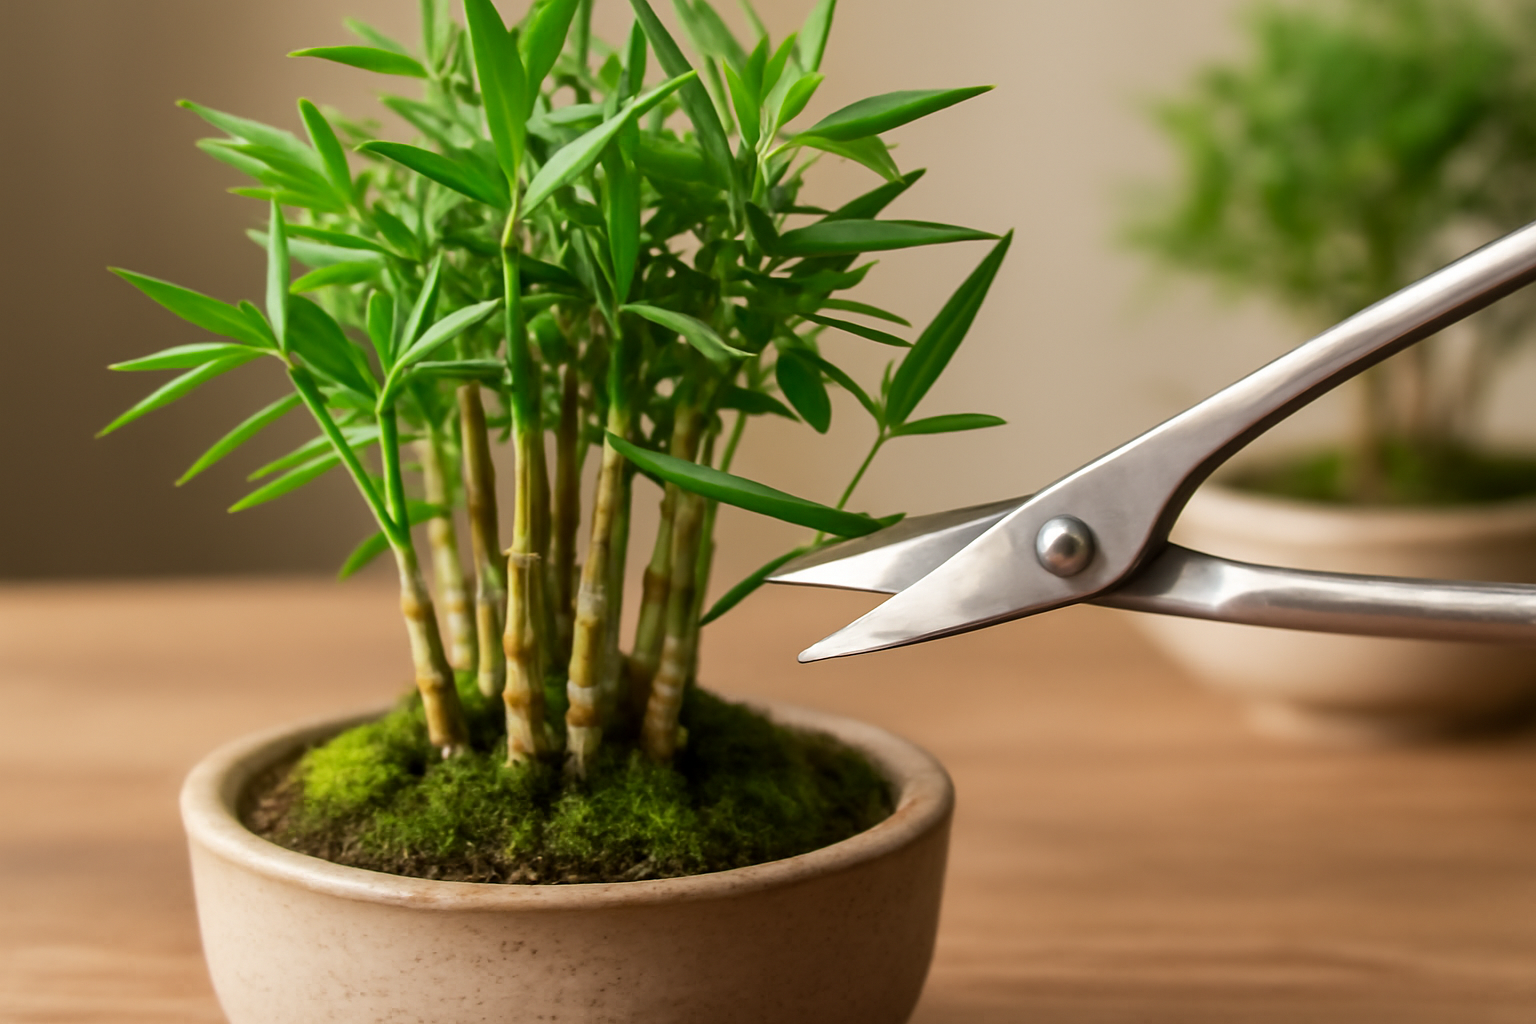
The Bonsai Pruning Shears That Finally Work on My Bamboo Forest Kit…
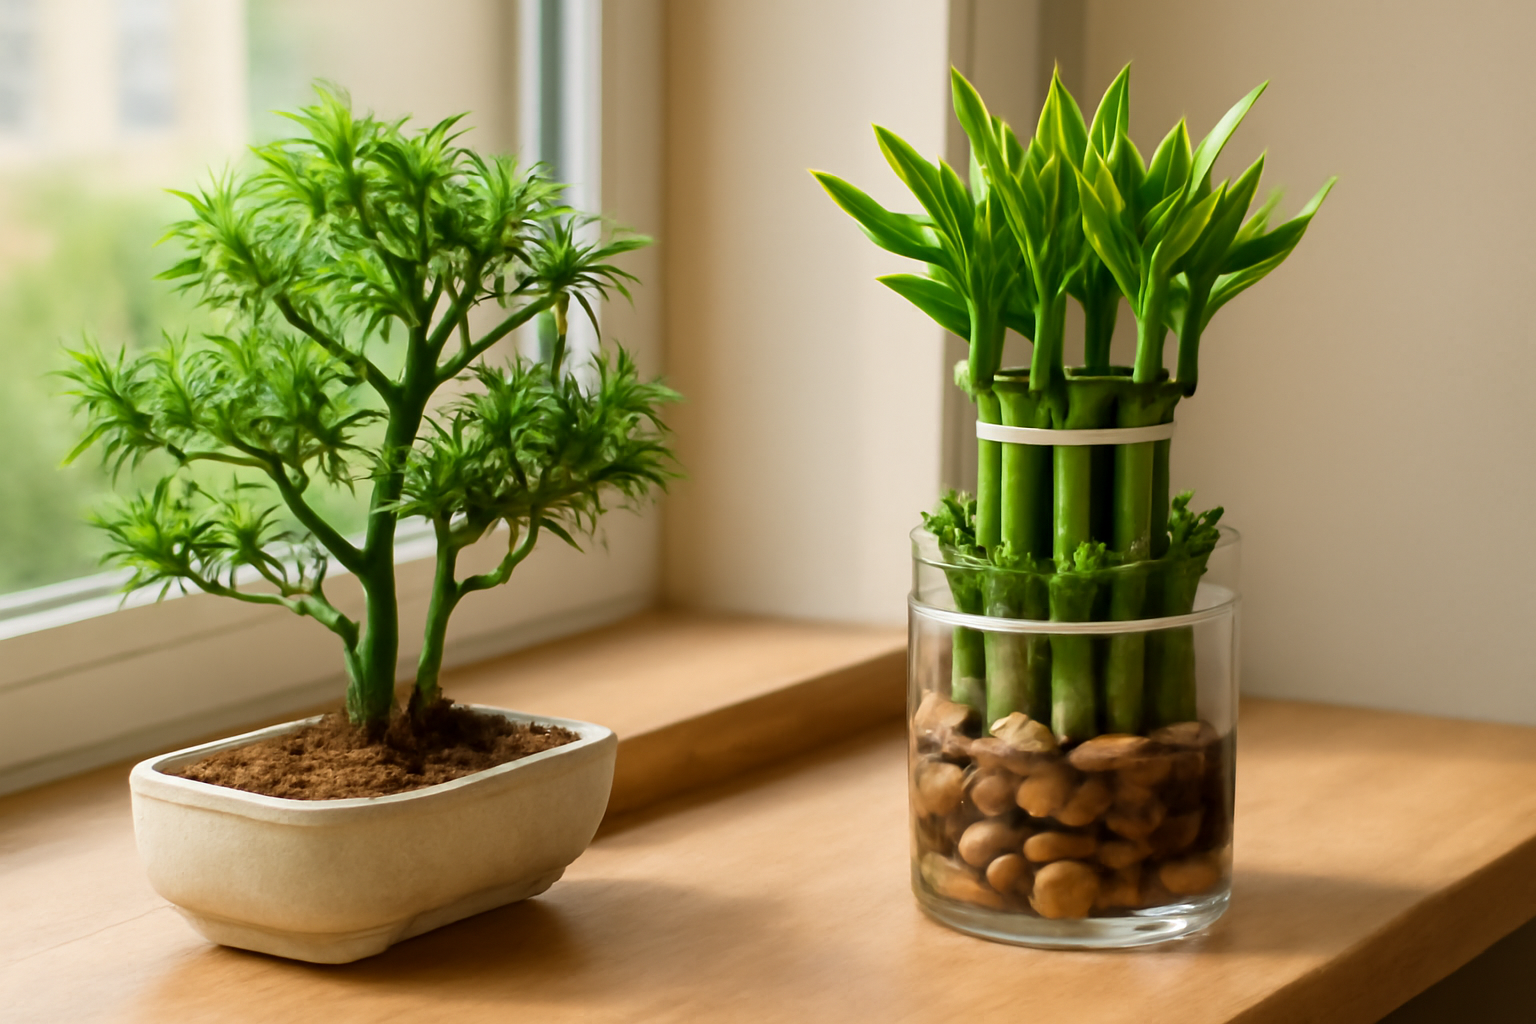
I Tested the Beta Bucks Bamboo Bonsai Forest Kit: Six-Month Honest Review…
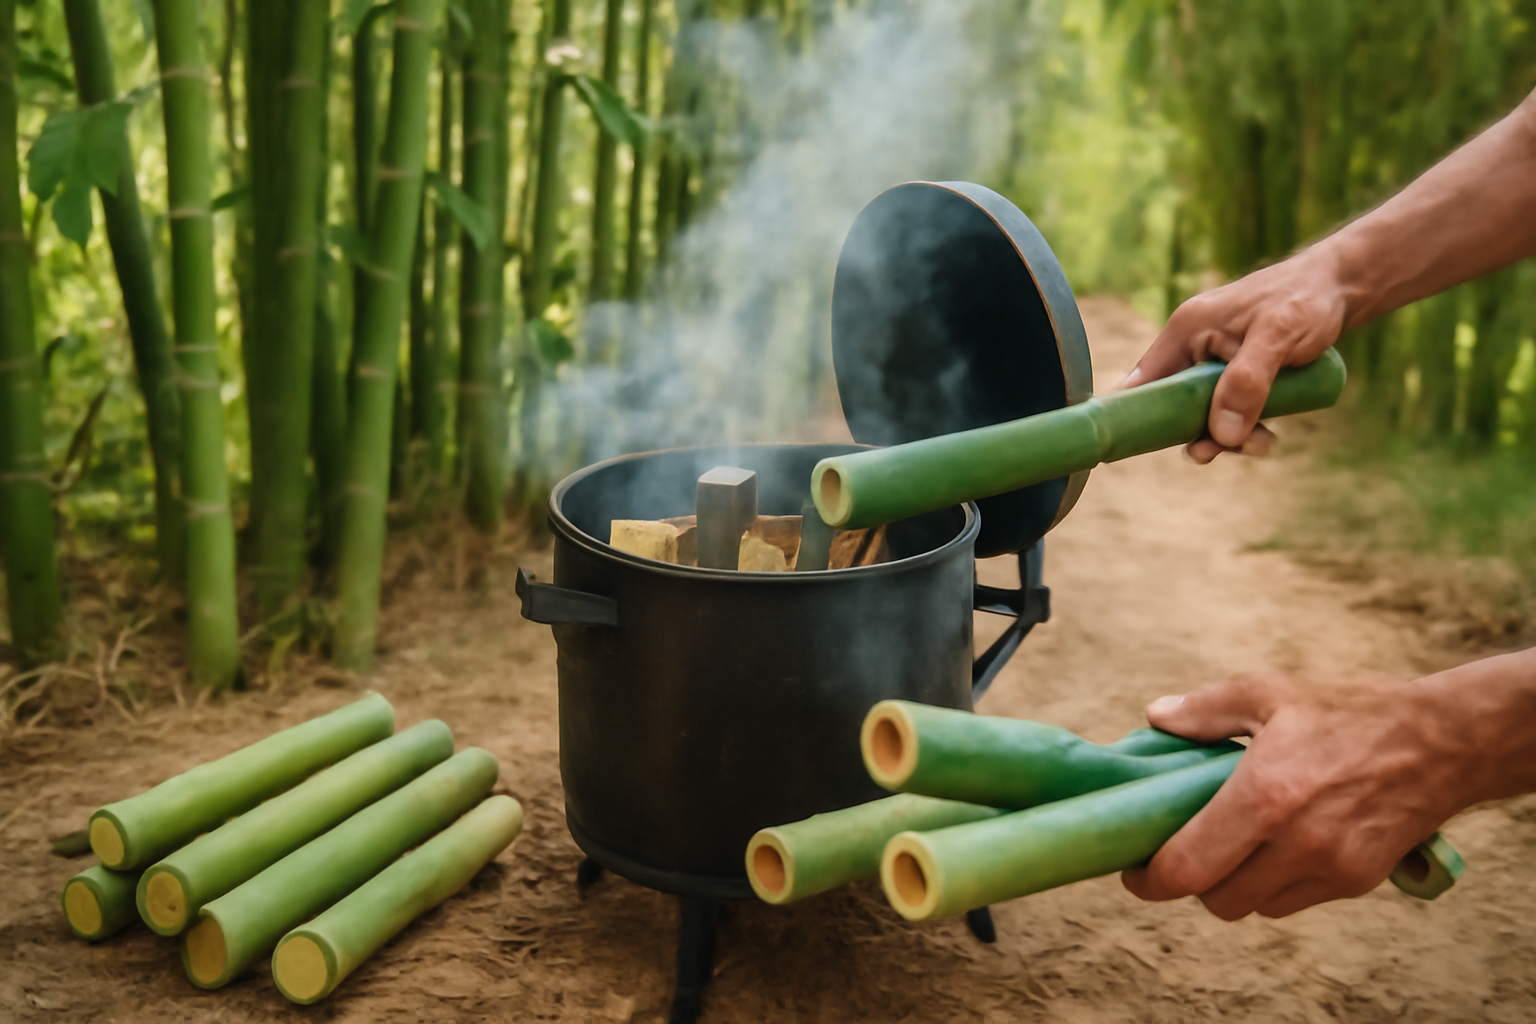
After fifteen years of growing bamboo commercially, I have accumulated a problem most people would envy: too much bamboo. Every season, I cull culms, thin groves, and harvest poles for sale. That leaves an enormous volume of offcuts, rejected poles,…
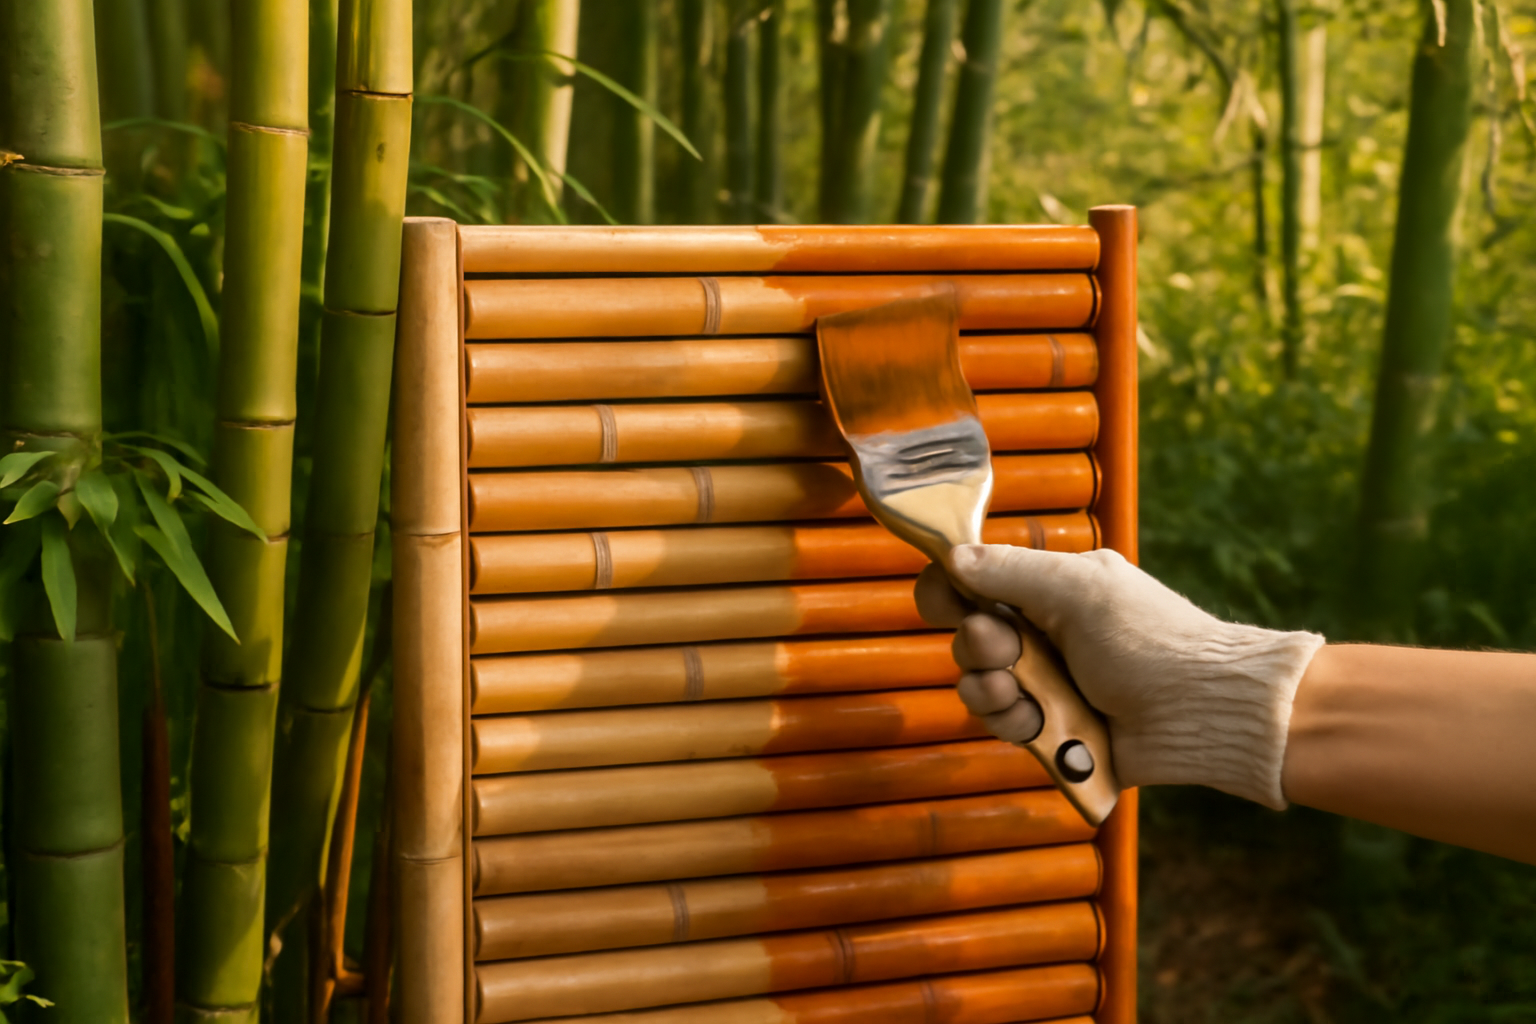
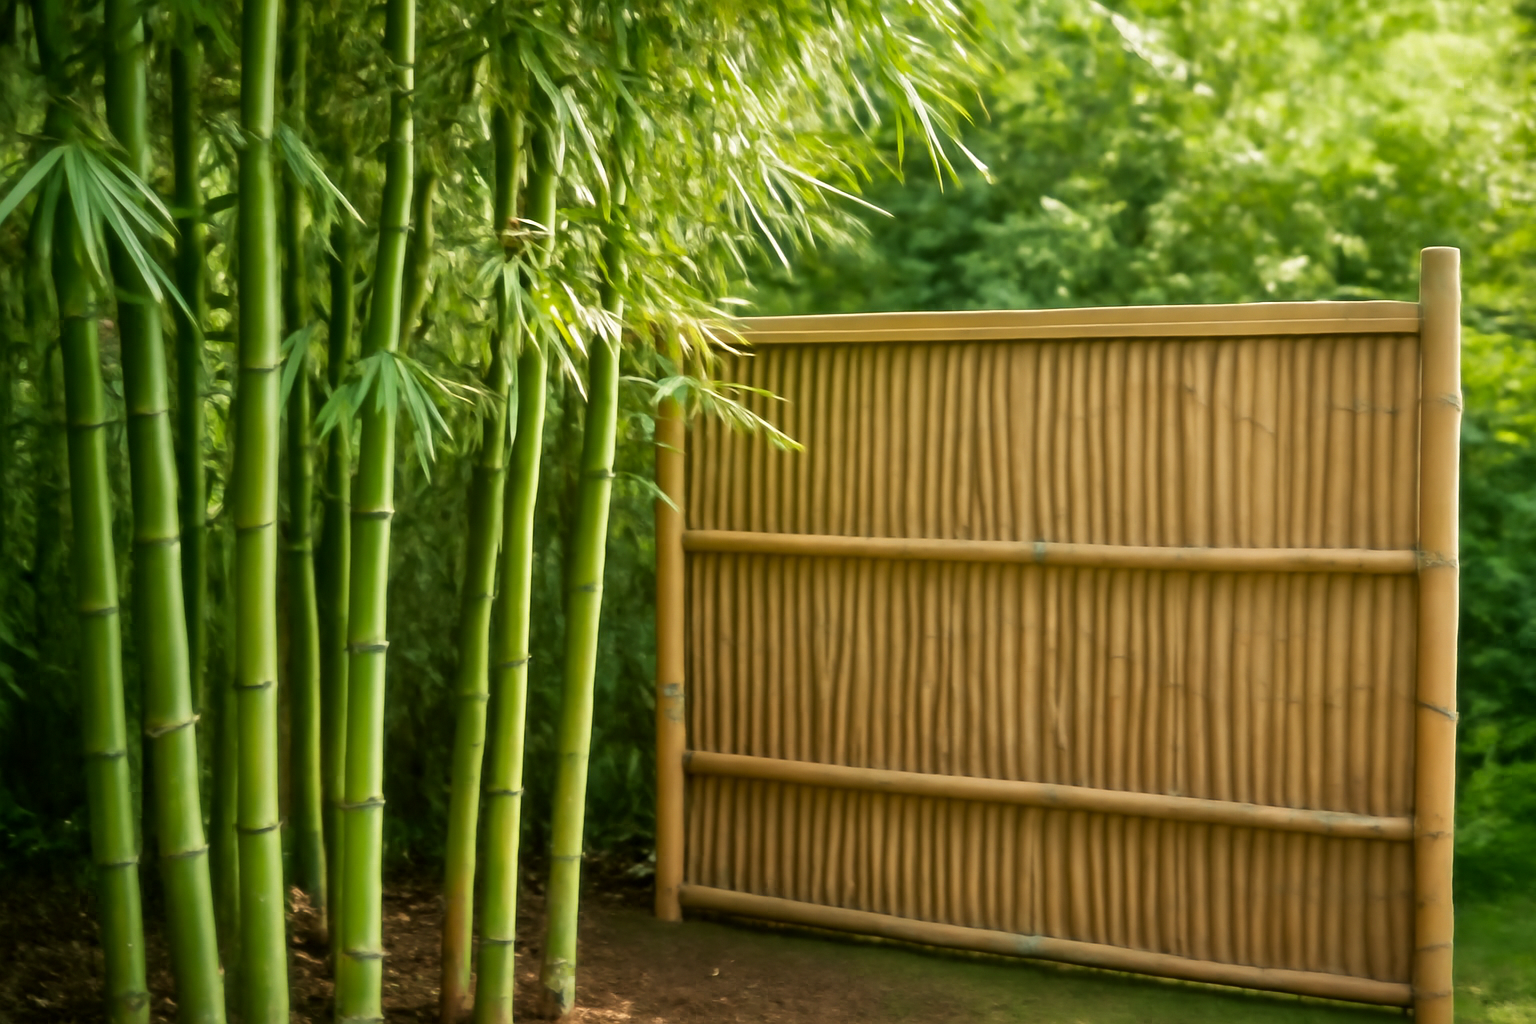
Why My Bamboo Fence Was Turning Grey After One Season…
If you’ve spent any time on this site, you know I grow bamboo for a living. Fourteen species, commercial sales, and more hours than I care to count helping neighbours rip out running bamboo that previous owners planted without a…
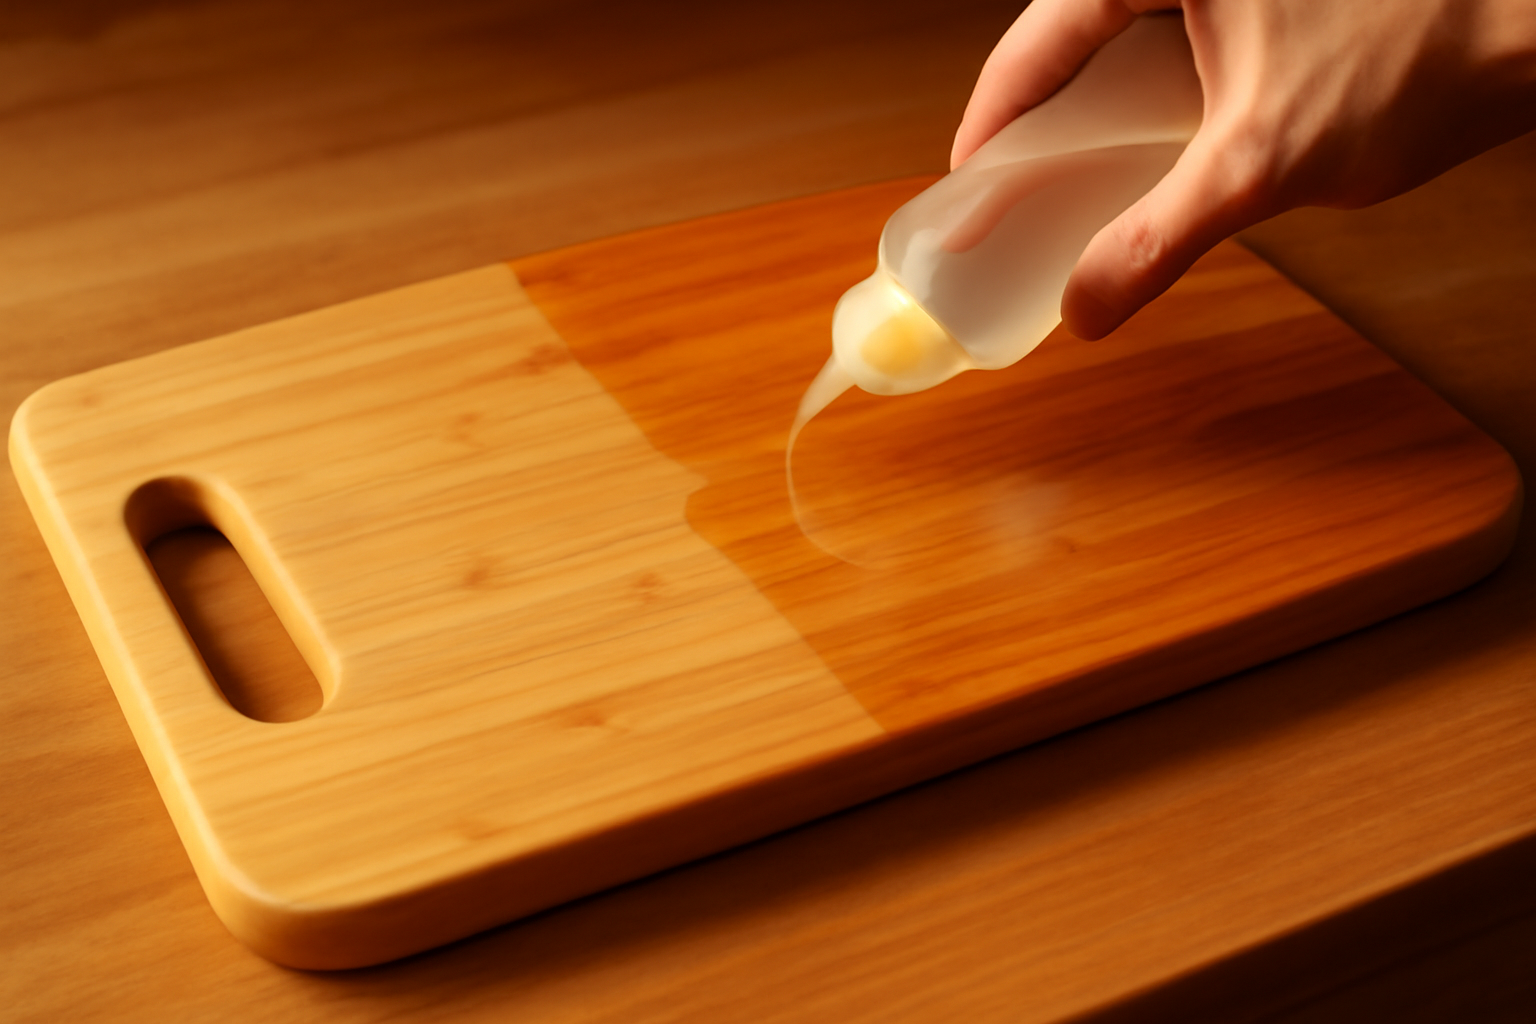
When you grow bamboo commercially and make your own cutting boards from harvested culms, the finish matters more than most people realize. I learned that the hard way. Getting the right mineral oil bamboo cutting board finish is genuinely the…
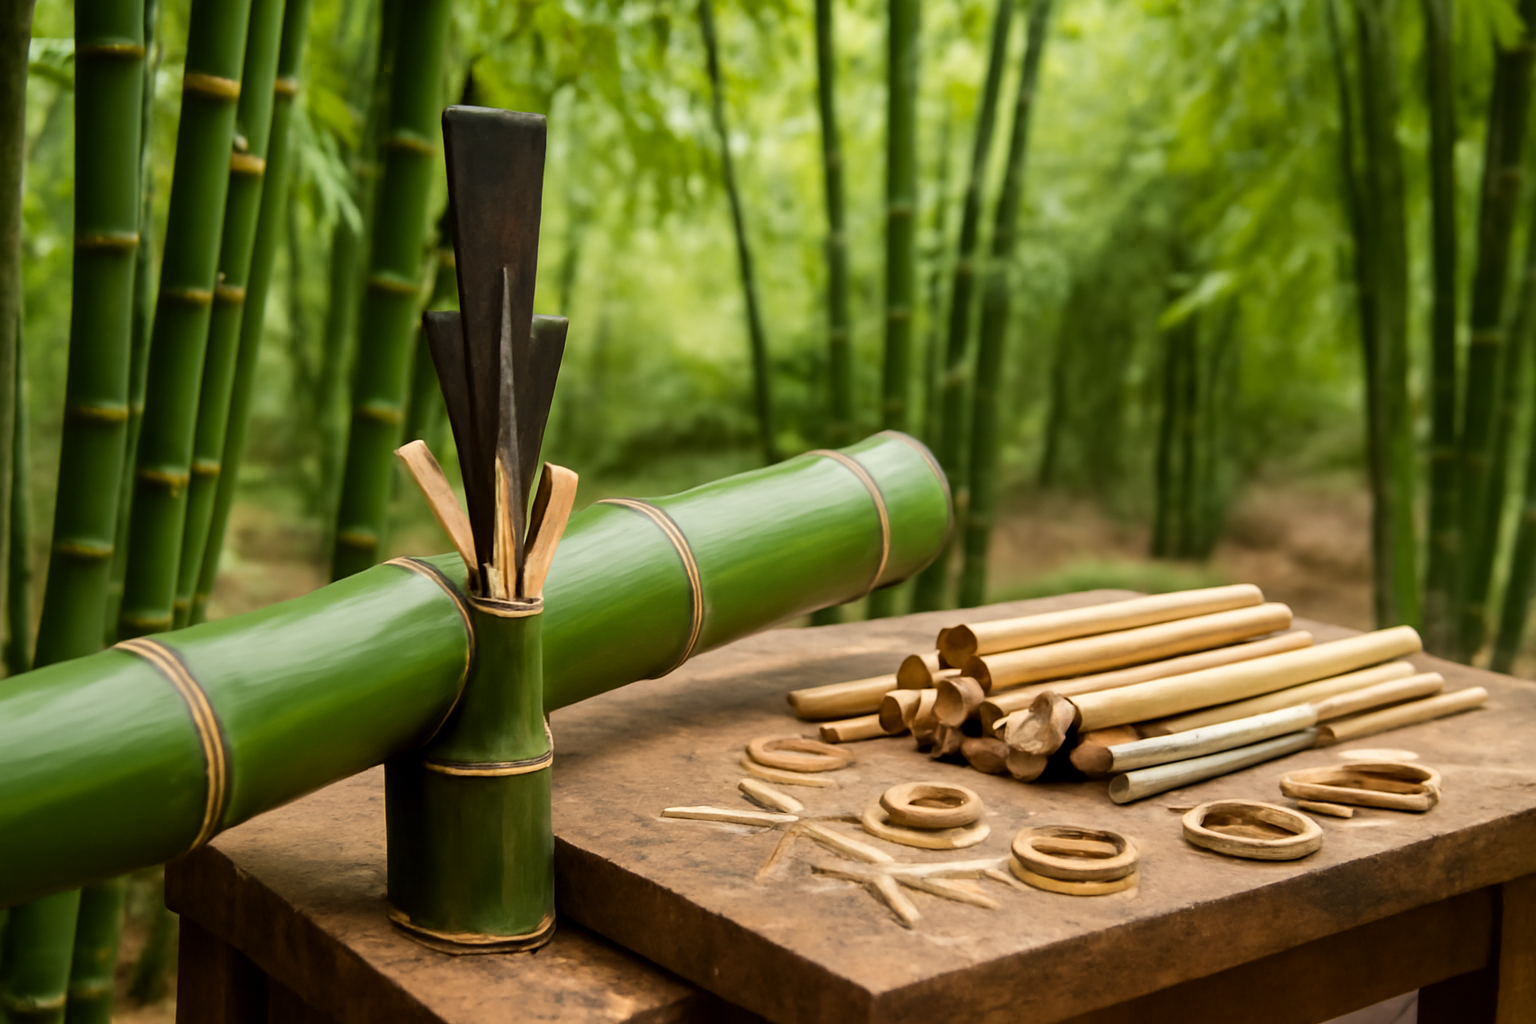
If you’ve ever tried to split bamboo culms by hand with a machete, you already know the problem. You end up with strips that wander, splits that blow out the node walls, and fingers that are uncomfortably close to a…
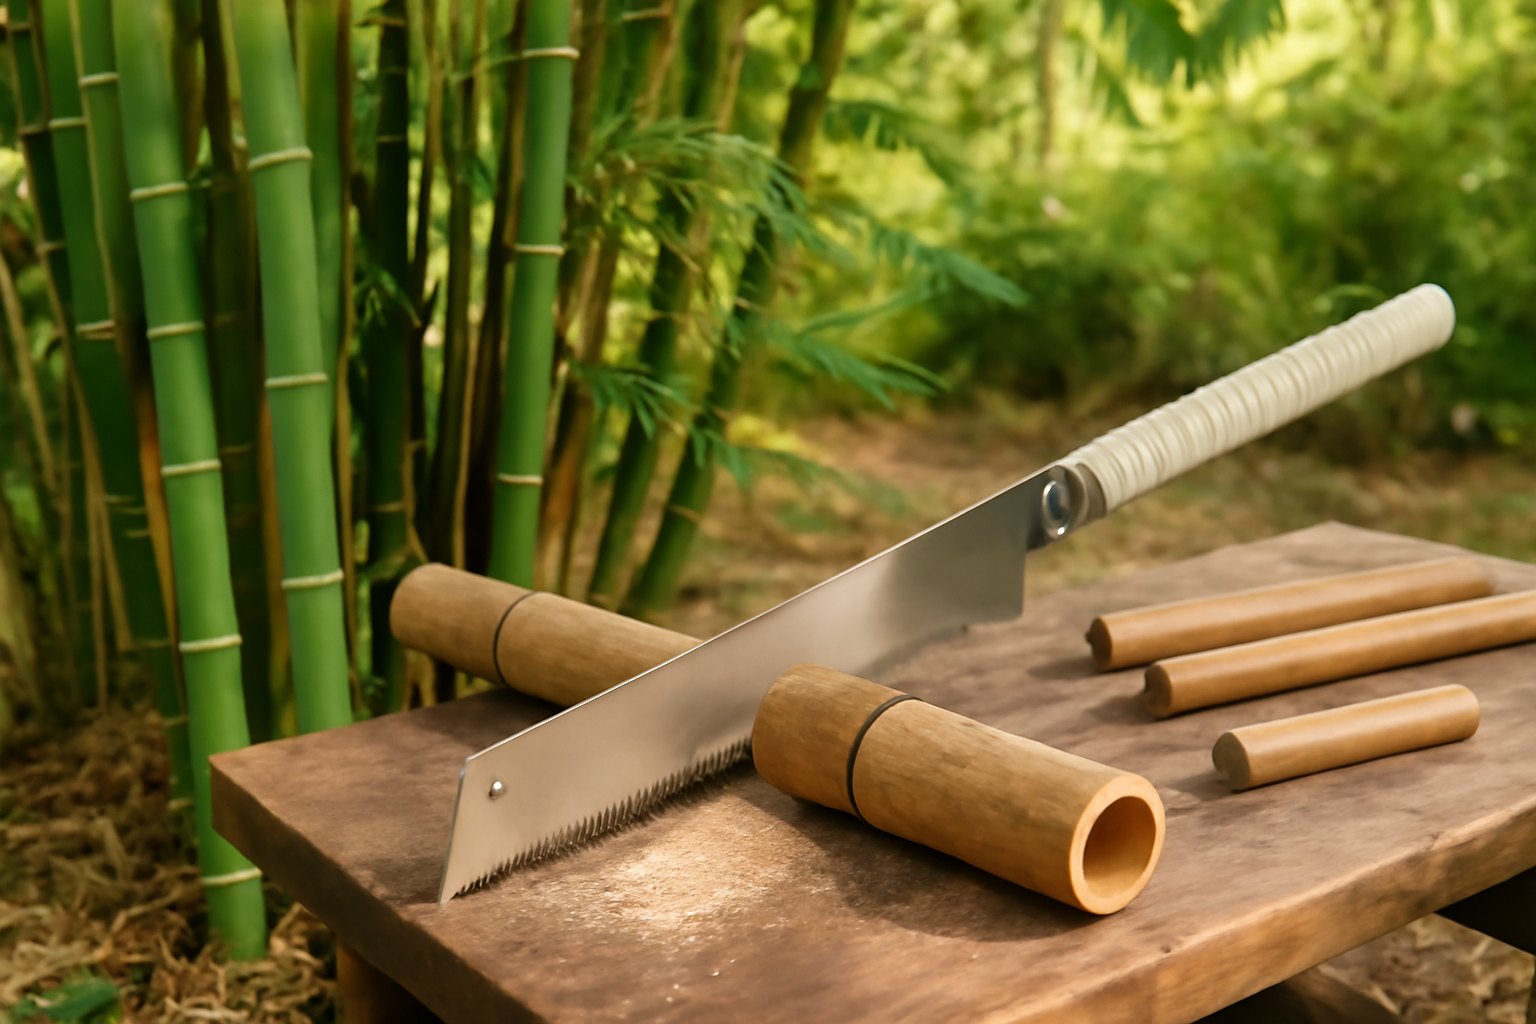
Last spring, I decided to build a freestanding bamboo trellis for a section of climbing roses along my back fence. Simple enough project — except I had about sixty culms to cut, trim, and notch to length. My old crosscut…