After making a batch of spoons and spatulas from my own bamboo poles, I got curious how the mass-produced sets I’d bought for years were actually built — and the answer surprised me. The process bamboo goes through before it becomes a kitchen utensil is a lot more involved than “cut and carve,” with specific drying and stabilizing steps that matter for anyone thinking about DIYing their own or just wanting to know what they’re putting food on. Understanding how bamboo utensils are made changed the way I approach both harvesting and using bamboo in the kitchen, and it’ll probably change how you think about your bamboo tools too.
Why Bamboo Matters for Kitchen Tools
Bamboo is genuinely one of the best materials for kitchen utensils — and it’s not just marketing. When I first started growing Phyllostachys edulis (Moso bamboo) on my property, I assumed I could just cut a culm, let it dry, and whittle away. That assumption cost me several warped spatulas and one spoon that split right down the middle after two weeks of use.
The reason bamboo works so well in kitchens comes down to its structure. Bamboo is a grass, not a tree, which means its cell walls are denser and more uniform than hardwood. It’s naturally antimicrobial, won’t harbor bacteria the way porous materials do, and it’s harder than many hardwoods — second only to lignum vitae on the Janka hardness scale. But that density is also what makes processing it correctly so critical. Get the drying wrong, and you get splitting, cupping, or a utensil that absorbs water like a sponge.
Step 1: Harvesting and Initial Processing
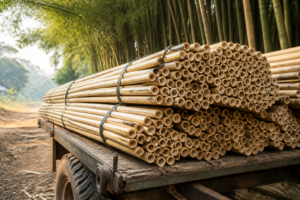
How bamboo utensils are made starts long before the carving — it starts with harvesting the right culms at the right age. Most commercial operations use 3- to 4-year-old culms of Phyllostachys edulis or similar large-diameter species. You want mature canes that have hardened completely, not young shoots.
Here’s what happens in a commercial facility right after harvest:
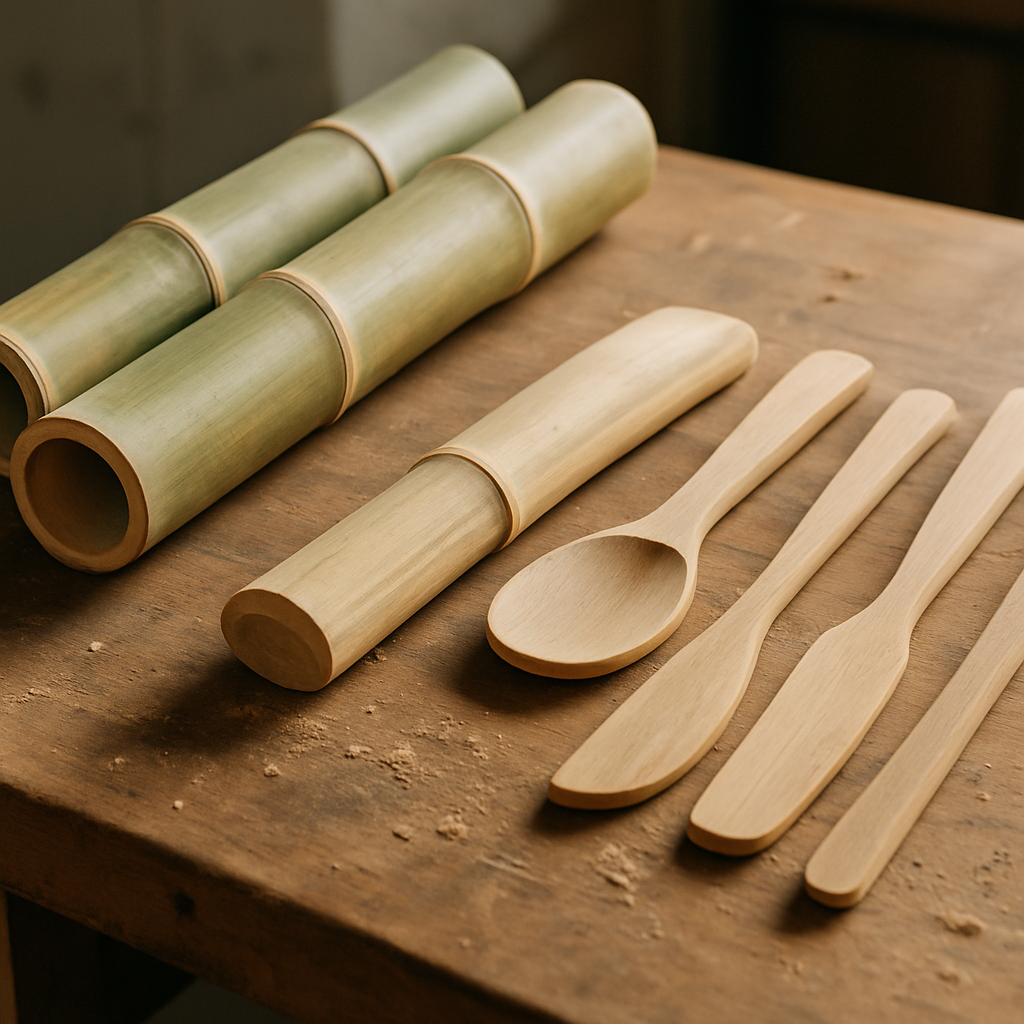
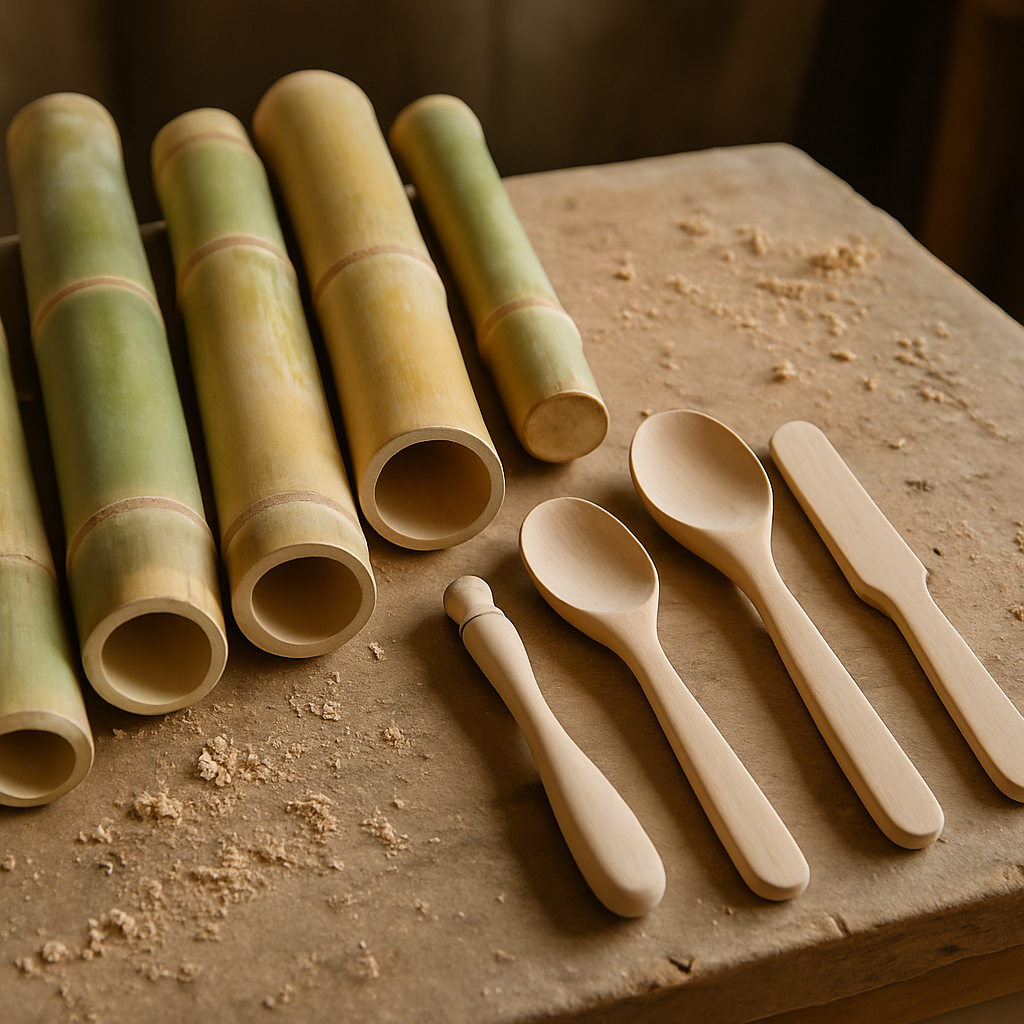
- Culms are cut into rough blanks — typically 8 to 12 inches long for spoons and spatulas, depending on the final tool size.
- The outer waxy layer (the culm sheath) is removed by brushing or light sanding to expose the wood beneath.
- The internodes are removed by cutting out the walls that divide the bamboo’s hollow chambers. This is crucial — those walls are weak points that will split during drying if left in place.
- Any soft pith or debris is scraped clean from inside the tubes.
When I tried this myself with poles from my own grove, I skipped step 3 and ended up with four pieces of kindling. The internodes trap moisture, and when that moisture tries to escape unevenly during drying, the bamboo splits with a crack loud enough to startle the neighbors.
Step 2: Controlled Drying — The Make-or-Break Stage
This is where most DIY attempts fail, and where commercial producers really separate themselves. Bamboo must be dried slowly and evenly, or it warps beyond use.
In industrial settings, blanks go into kiln-drying chambers where temperature and humidity are carefully controlled. The process typically works like this:
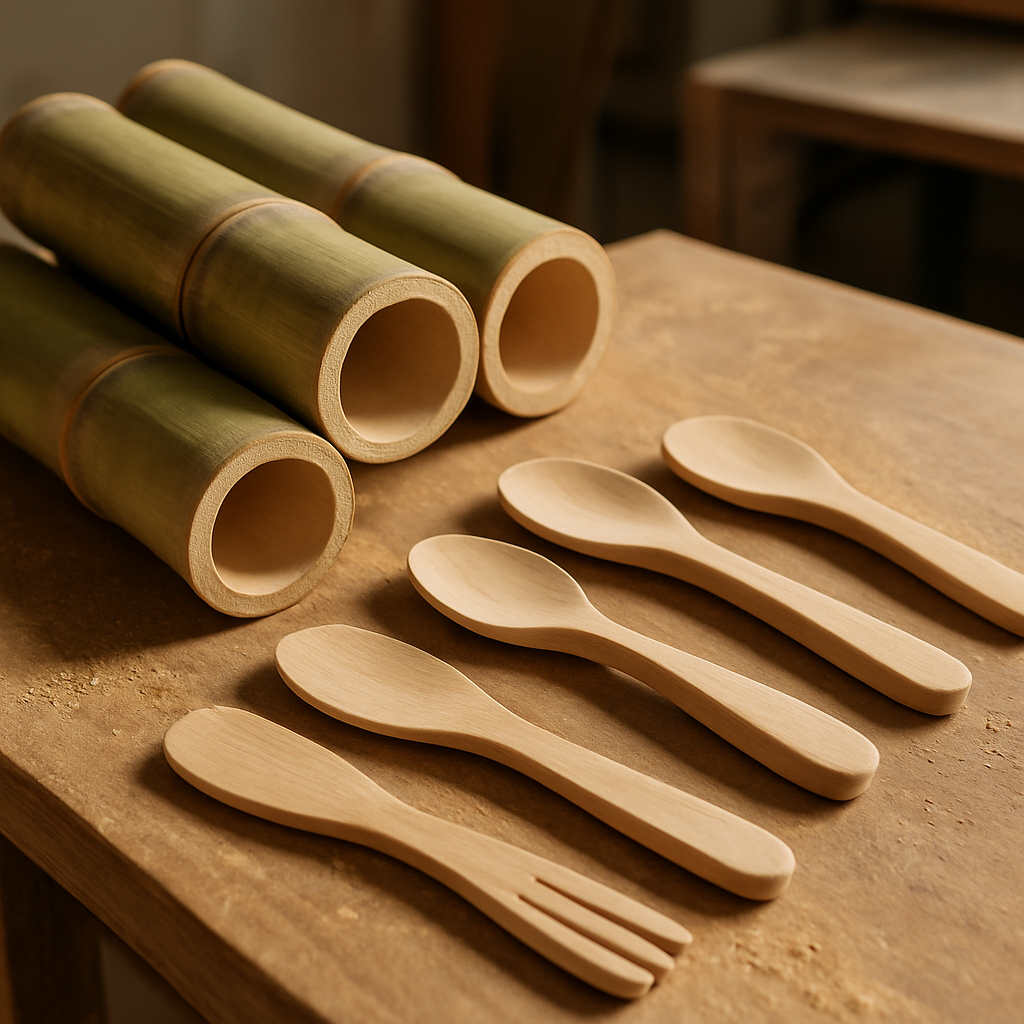
- Weeks 1–2: Temperature held at around 50–60°C (122–140°F) with high humidity (80–90%) to allow moisture to escape from the interior without the outer layer drying too quickly.
- Weeks 3–4: Humidity gradually reduced to 60–70% while temperature stays steady, evening out the moisture gradient.
- Weeks 5–6: Final drying to 8–12% moisture content — the ideal range for kitchen utensils that won’t absorb water or shrink further.
The whole process takes about 6 weeks. When I tried air-drying blanks in my garage, I got uneven moisture loss: the outer surface dried in two weeks while the center was still soft, causing the pieces to cup and twist. Now if I’m drying bamboo myself, I do it in a shaded, well-ventilated shed with consistent airflow, turning the blanks every few days, and I expect it to take at least 8–10 weeks.
Step 3: Stabilizing and Treating
Once the blanks are dry, they’re far more stable — but they’re not done yet. Many commercial manufacturers apply a stabilizing treatment to improve water resistance and longevity.
Common stabilization methods include:
- Oil treatment: Blanks are soaked or brushed with food-safe oils (often mineral oil or coconut oil) that fill surface pores and reduce water absorption. This step takes a few hours and can be repeated.
- Heat treatment: Some producers apply additional low-temperature heat (around 100–120°C / 212–248°F) to further set the wood and improve dimensional stability.
- Wax or resin coating: A thin finish (food-safe wax or water-based resin) is applied to seal the surface without creating a plastic-like feel.
This is where the bamboo utensil you buy is actually tougher than one I make in my workshop. A proper stabilization treatment makes the tool more resistant to swelling and shrinking as humidity changes — something especially important in a kitchen where moisture exposure is constant.
Step 4: Shaping, Finishing, and Quality Control
Once the blank is dried and stabilized, it’s ready for carving and shaping. In mass production, this is where automation enters: CNC machines or gang saws cut the basic shape, and sanders round edges and smooth surfaces. A spoon blank that took 6 weeks to prepare goes from rough tool to finished utensil in a matter of hours of machining.
Before packaging, each utensil goes through quality checks:
- Visual inspection for cracks, checks, or discoloration
- Moisture content verification (usually with a moisture meter — anything above 15% gets re-dried)
- Weight and dimension checks to ensure consistency within sets
- Surface smoothness testing to catch any splinters
This is the part of commercial production I genuinely can’t replicate in my kitchen. A moisture meter alone helps, but consistent precision across multiple pieces requires the kind of machinery and space most home makers don’t have.
What This Means for DIY Makers and Bamboo Growers
If you’re growing bamboo and want to make your own kitchen tools, understanding this process actually makes you a better maker. You don’t need industrial kilns, but you do need patience. The mistakes I made — rushing the drying, skipping the interior denodeization, not sealing the finished product — all trace back to skipping steps that industrial makers know matter.
Here’s my practical advice: if you’re making utensils from your own bamboo, treat the drying stage like it’s your most important tool. Invest in a simple moisture meter (they’re inexpensive and game-changing). Dry your blanks slowly in a consistent environment. Remove those internodes. And once your spoon or spatula is carved, oil it thoroughly and let it cure for a week before using it in the kitchen.
Will your homemade utensils be as perfectly consistent as commercial ones? Probably not. Will they be beautiful, functional, and infinitely more satisfying to use because you grew the bamboo and made them yourself? Absolutely.
The next time you use a bamboo spoon or spatula — whether it came from a store or from your own hands — you’ll know what it took to get there: weeks of careful drying, intentional stabilizing, and a process refined over decades by makers who understood that bamboo only works in the kitchen if you respect how it moves and changes. That knowledge changes everything about how you appreciate the tool in your hand.
Ready to try making your own? Start by harvesting a few mature culms from your bamboo grove, process them carefully following the steps above, and give yourself the gift of time. Your first successful spoon will taste like victory — even if it’s just soup.
About This Article

Written by Marcus Chen. Marcus Chen has spent 15 years cultivating and studying bamboo across 14 different species, combining commercial growing operations with extensive hands-on experience in species selection and containment. As both a grower and consultant, he specializes in practical bamboo management, helping homeowners and landscapers understand the real-world requirements for responsible bamboo cultivation. Marcus brings tested knowledge of which species thrive reliably and which present containment challenges that go beyond standard recommendations. More about this site.
Verify this against a primary source
Specifics change, and your situation may differ from the one described here. These are the authorities worth checking directly:
- American Bamboo Society — species listings and cultivation guidance
- USDA PLANTS Database — species range and identification
- USDA Plant Hardiness Zone Map — cold hardiness verification for your location