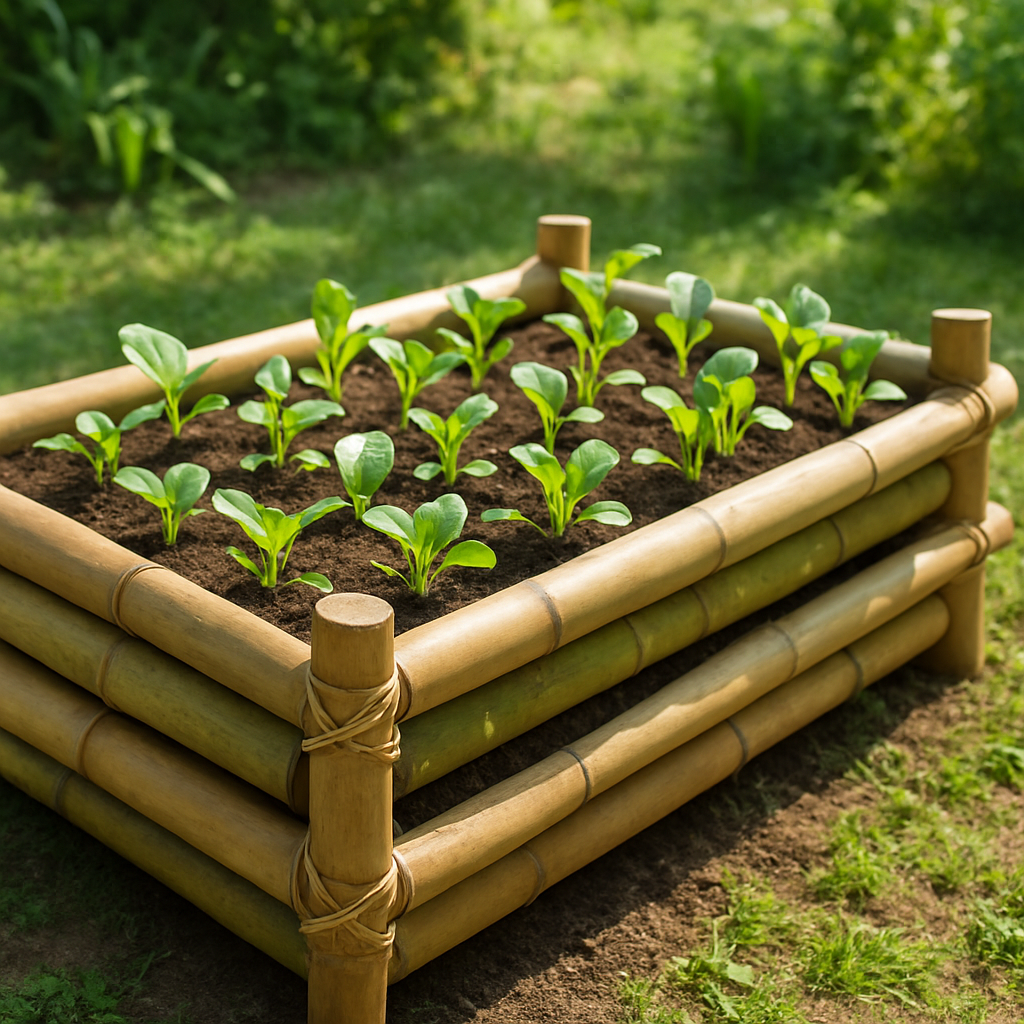
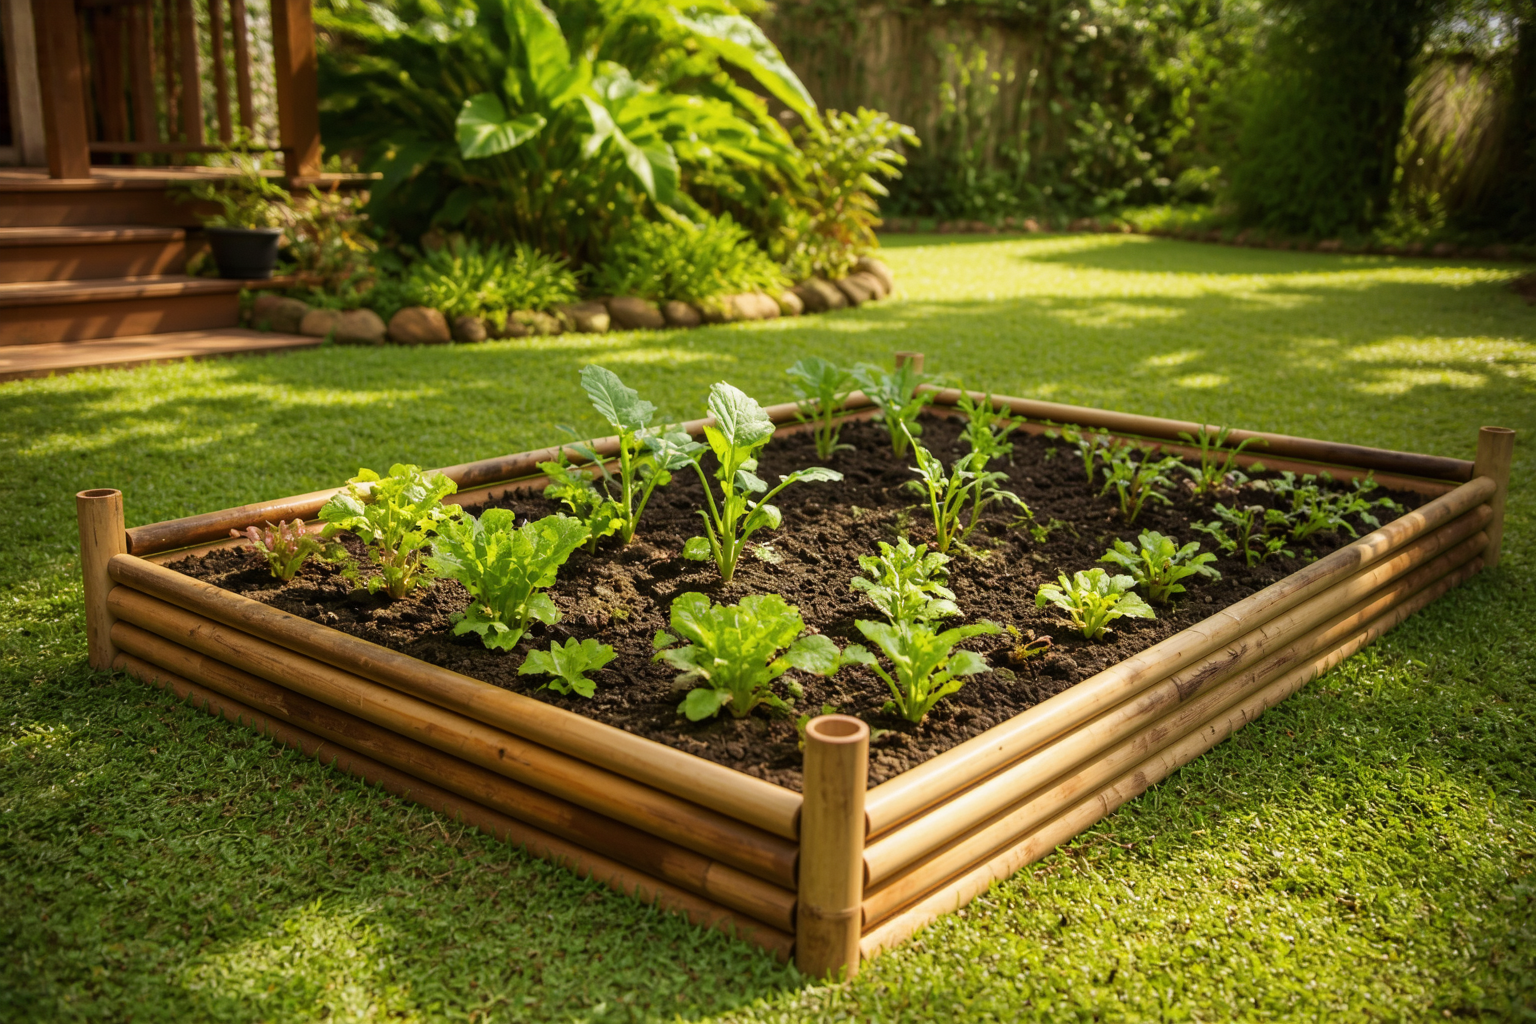
When I had a stack of thinned bamboo poles and a vegetable patch that badly needed better drainage, building my own raised bed out of the poles I already had felt like the obvious move — and it turned out to be one of the most satisfying weekend projects I have done in the garden. A DIY bamboo raised garden bed will not last as long as pressure-treated lumber in ground contact with soil, but framed correctly and sealed at the joints, bamboo holds up for years and costs next to nothing if you are already growing your own poles. Over the past four seasons, I have built three of these beds, learned what fails fast and what endures, and refined a method that turns culm (mature bamboo poles) into a functional, beautiful planter that works harder than any store-bought frame I have owned.
Why Bamboo Makes Sense for Raised Garden Beds
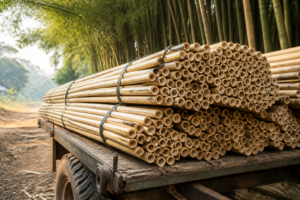
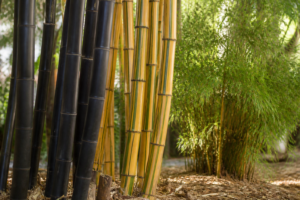
Before I talk about the build, let me be honest about why I chose bamboo for this project. Pressure-treated lumber is convenient; it sits at the garden centre, ready to assemble. But I grow running bamboo — Phyllostachys edulis and Phyllostachys vivax — and every year I thin out the culms to encourage vigor and keep rhizomes from wandering into the neighbour’s yard. That means I have a steady supply of 2–3 year old poles, each one about 3–4 inches in diameter and 8–12 feet tall, that would otherwise be chipped or burned.
Using those poles for a raised bed made economic and ecological sense. I was converting a waste product into a functional garden structure, learning the limits of bamboo in the process, and keeping the whole project within the closed loop of my own property. Bamboo grows fast — Phyllostachys species push up new culms in just 60–90 days — so the carbon footprint of the material is lower than lumber that takes years to mature. And yes, bamboo will eventually degrade where it contacts wet soil. But “eventually” is not next season; it is more like 4–7 years depending on your climate and how well you seal the joints.
That is a completely acceptable lifespan for a raised bed frame, especially when it costs you only a weekend of labour and the price of fasteners.
Materials and Tools You Will Need
I keep this list deliberately simple. You do not need specialized joinery tools or advanced skills.
Bamboo Poles
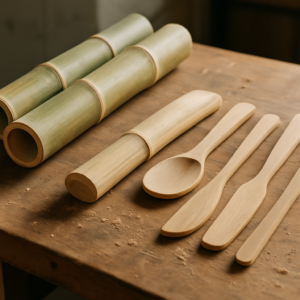
For a standard 4-foot by 8-foot by 12-inch deep bed, you will need four poles per frame. I use poles that are 2–3 inches in diameter and at least 8 inches longer than the finished width or length (so 12-inch poles for a 4-foot dimension). Make sure the poles are at least 2 years old; green or freshly cut bamboo is still full of moisture and will warp or split as it dries. Check for cracks, soft spots from fungal damage, or sections where insects have tunnelled. A few small blemishes are fine; major damage means that pole will fail faster underground.
Fasteners and Sealant
- 3-inch stainless steel wood screws (at least 8 per corner, so 32 for the whole bed)
- Heavy-duty exterior wood filler or bamboo-specific sealant (the kind that expands slightly as it cures)
- Exterior polyurethane sealant (optional but recommended for corner joints)
Tools
- Power drill with a driver bit (for screws)
- Drill press or hand drill with a small bit (1/16 inch) for pilot holes — this prevents splitting
- Handsaw or circular saw (to trim poles to length if needed)
- Measuring tape, carpenter’s square, pencil
- Sandpaper (60–120 grit) and a sanding block
- Caulking gun (if using polyurethane sealant)
Step-by-Step Build Process
Step 1: Cut and Prepare Your Poles
Measure out your four poles to the correct length. For my 4-by-8 frame, I cut two poles to 4 feet and two to 8 feet. Use a handsaw or power saw with a fine-tooth blade to make a clean cut — a rough, splintered cut will absorb moisture faster and become an entry point for decay.
Once cut, sand the cut ends smooth with 60-grit paper, then 120-grit. This is not about aesthetics; it is about removing the exposed wood fibres that would otherwise wick moisture into the pole. Take your time here — rough edges fail first.
Step 2: Lay Out and Square Your Frame
On a flat, level piece of ground, arrange your four poles in a rectangle. Use a carpenter’s square to check the corners — they need to be true 90-degree angles, or the frame will twist and the joints will separate. Adjust the pole positions until the square sits flush against both poles at each corner.
Step 3: Mark and Drill Pilot Holes
This step is critical. Bamboo will split under stress from large fasteners, especially near the ends. Mark where you want each screw to go — I use 2 screws on the long sides and 3 on the short sides, staggered to avoid creating a line of weakness. The holes should be about 2 inches from the edge of each pole and at least 3 inches from any end.
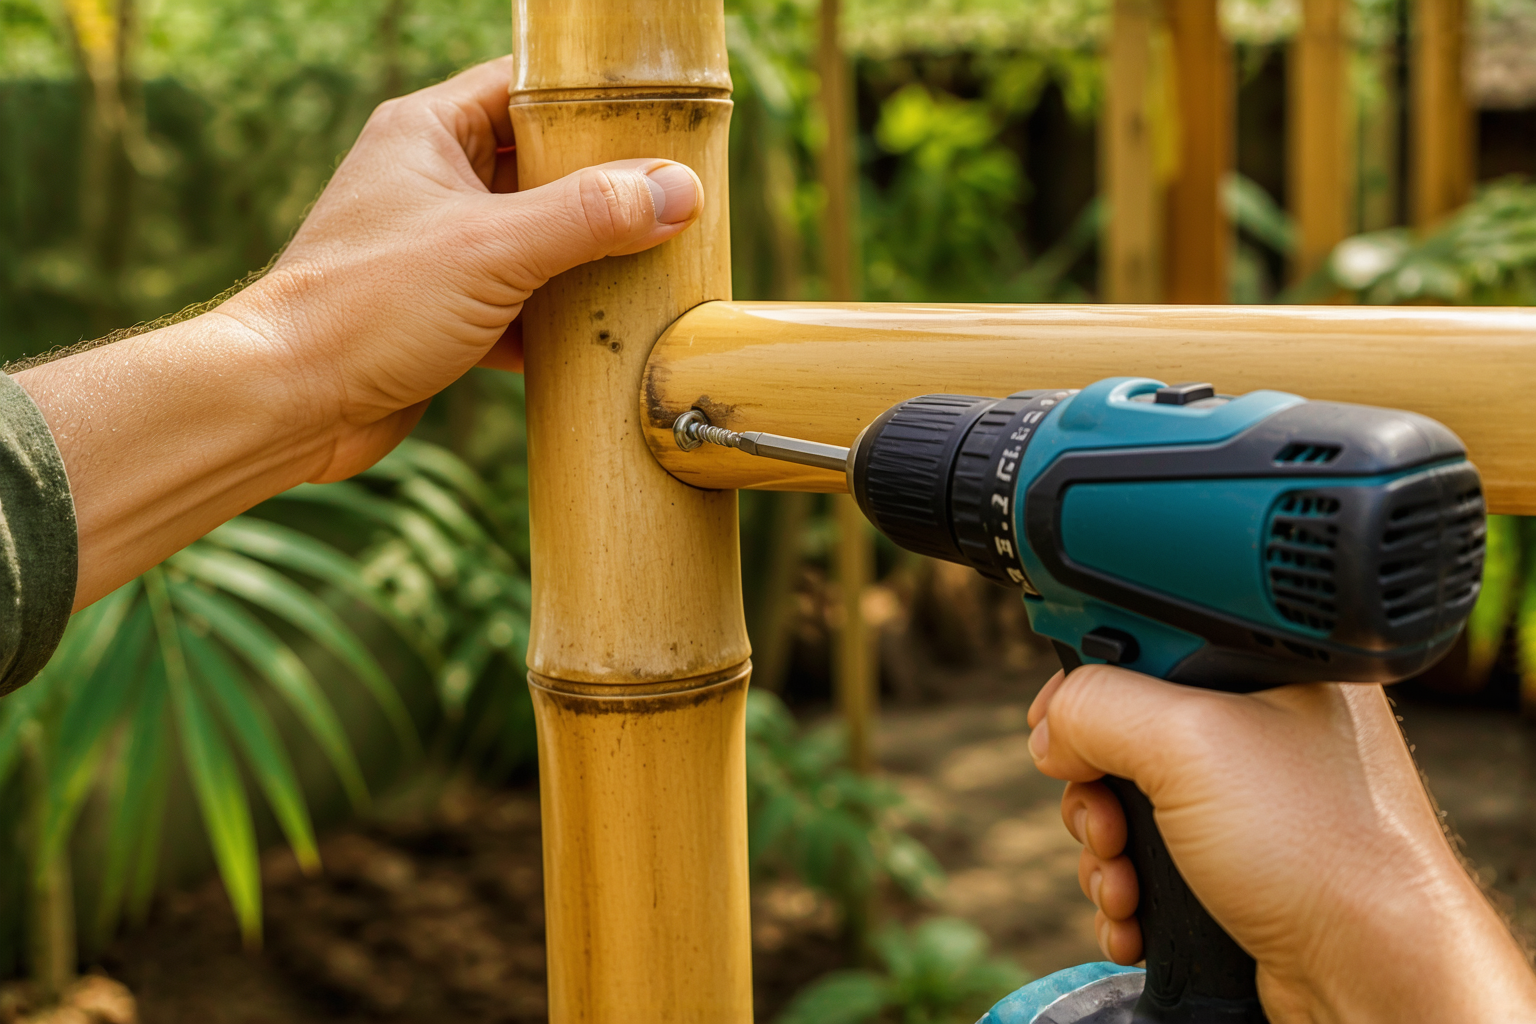
Drill a pilot hole at each mark using a 1/16-inch bit. Keep the drill perpendicular to the pole. A pilot hole only needs to be as deep as the screw will penetrate; you are not trying to drill all the way through.
Step 4: Drive the Screws and Seal the Joints
Insert each stainless steel screw slowly, using steady pressure on the drill. Stainless steel is tougher than regular steel and requires more torque; do not force it or you will snap the screw shaft. The screw should pull the two poles tight together without gaps.
Once all screws are in, apply an exterior wood filler or bamboo sealant into the gap between the poles at each corner joint. Work the sealant in with a putty knife so it fills any voids where water could collect. If you are using polyurethane sealant, apply a bead along the outside of each corner joint and smooth it with a wet finger. This creates a barrier that slows water penetration at the most vulnerable points.
Step 5: Optional Sealing of the Entire Frame
I have built three of these beds. The first one I sealed completely with exterior polyurethane and it lasted six seasons in heavy use before the bottom started to soften. The second one I sealed only the joints, and after four seasons it is still solid but showing some softening at soil contact. The third one — my test case — I left unsealed to see what happens. After two seasons, the bottom poles are visibly degrading.
If you want your bed to last 5+ years, seal the entire outer surface with a water-based exterior sealant formulated for wood. This adds a day to the project but extends the life significantly. Do not use anything toxic; whatever sits on the surface will eventually wash into your garden soil.
Installation and Aftercare
Position your finished frame in the garden on relatively level ground. You do not need to set it on a foundation, but I recommend laying landscape fabric underneath to slow grass encroachment and add one more barrier against ground moisture wicking up into the bamboo. Fill it with a blend of compost, topsoil, and aged manure — the usual raised bed mix.
During the first season, check the corners every month or so. If you see small gaps opening where screws have backed out slightly due to settling, tighten them. Bamboo and soil both settle; a little maintenance in year one prevents bigger problems later.
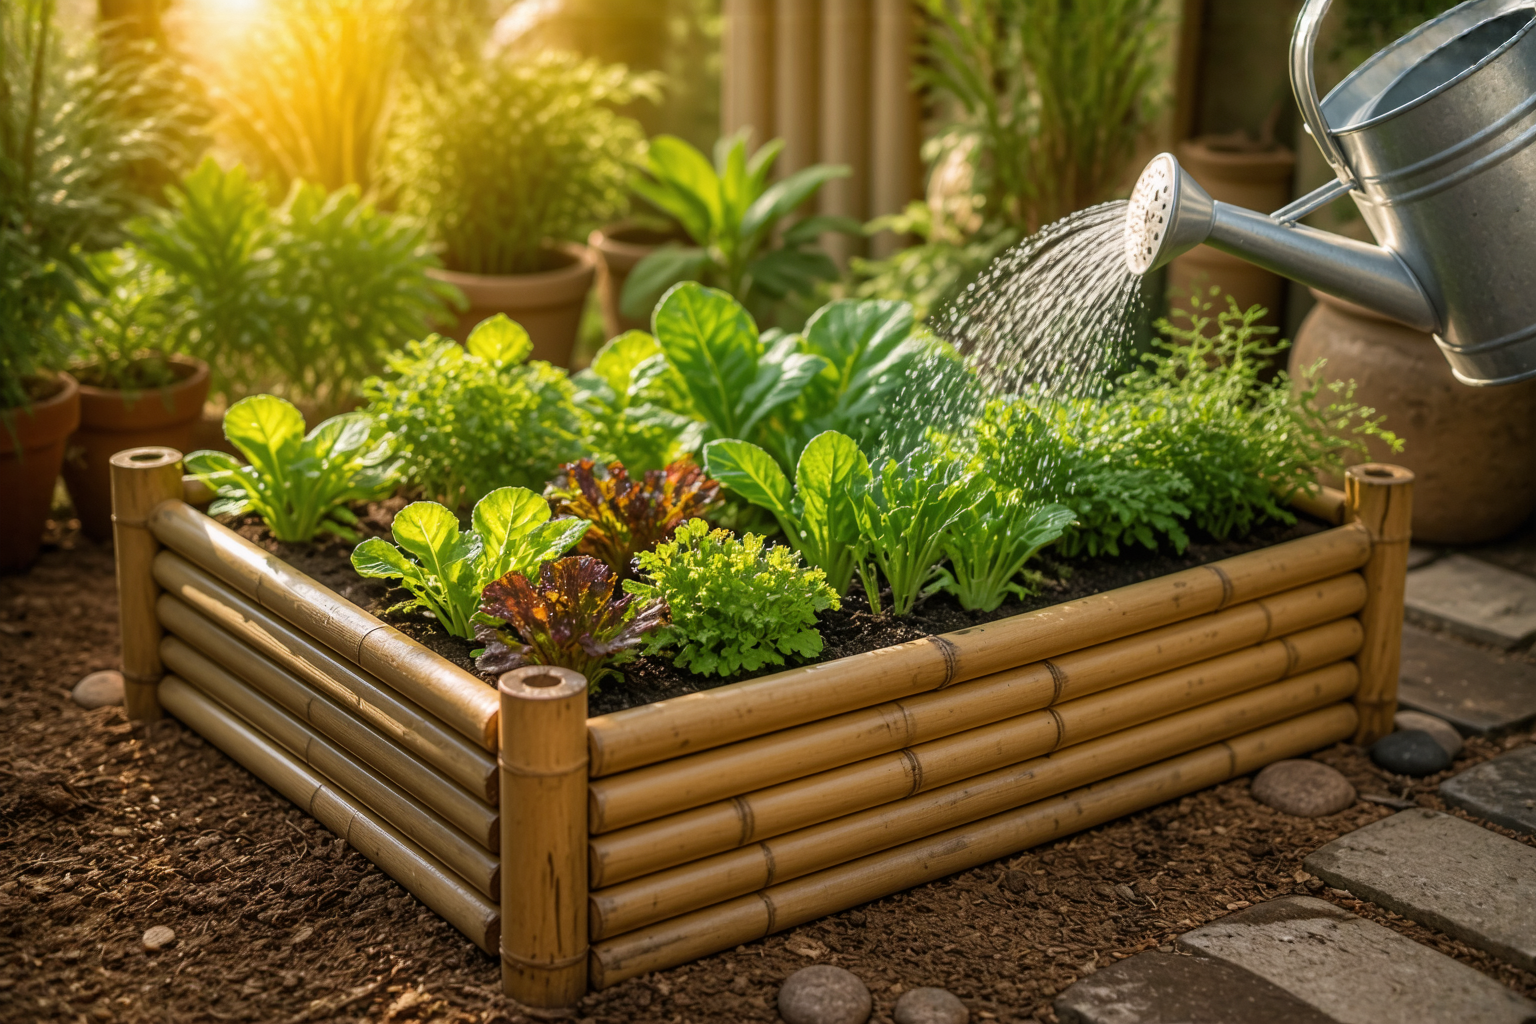
Water your plants normally — the whole point of a raised bed is drainage, and bamboo will not stop that. Just do not leave standing water against the frame for extended periods. In winter, if you are in a freezing climate, the expanded ice in wet bamboo can accelerate cracking. Let the bed drain well in autumn and consider covering the top with a tarp during heavy snow or ice.
Common Mistakes I Have Made (So You Do Not Have To)
I did not pilot drill my first few corners and split one pole badly trying to force screws. I learned to be patient. I also sealed only the bottom of my second bed and watched moisture creep up the sides; sealing the full exterior is worth the extra effort. And I once tried to use 1-year-old green bamboo, thinking it was old enough. It warped within six months. Stick to culms that are at least 24 months old.
One more thing: do not overthink the aesthetics. A bamboo raised bed will develop a silver-grey patina as it ages and weathers. This is normal and does not mean it is failing. In fact, the weathered grey bamboo looks wonderful alongside green plants.
Why This Project Is Worth Your Time
Building a DIY bamboo raised garden bed is not just a way to use up harvest material. It is a chance to work with a material that grows at your property, to understand its strengths and limits, and to create something that is genuinely useful and beautiful. The first time you set your hands on those joints and know that you built them to last, and that they will anchor your vegetables for years to come, you understand why bamboo gardeners do this work.
If you are growing bamboo already, or if you have a stand nearby, gather a few good poles and a handful of stainless steel screws, block out a weekend, and build one bed. I promise you will be planning the next one before the first harvest is finished.
Ready to get started? Pull those culms from the back of the garden, level a patch of soil, and make something that works.
About This Article

Written by Marcus Chen. Marcus Chen has spent 15 years cultivating and studying bamboo across 14 different species, combining commercial growing operations with extensive hands-on experience in species selection and containment. As both a grower and consultant, he specializes in practical bamboo management, helping homeowners and landscapers understand the real-world requirements for responsible bamboo cultivation. Marcus brings tested knowledge of which species thrive reliably and which present containment challenges that go beyond standard recommendations. More about this site.
Verify this against a primary source
Specifics change, and your situation may differ from the one described here. These are the authorities worth checking directly:
- American Bamboo Society — species listings and cultivation guidance
- USDA PLANTS Database — species range and identification
- USDA Plant Hardiness Zone Map — cold hardiness verification for your location