It was a Saturday morning, coffee in hand, staring at my neighbor’s bathroom window that looked directly into my patio. I’d been tolerating it for two years. That day, I finally decided to do something about it. By 2 p.m., I had a bamboo privacy screen installed, a few sore knuckles, and an enormous sense of satisfaction. If you’re searching for how to install bamboo privacy screen panels at home, I want you to know: you absolutely can do this yourself, even if you’ve never done a home improvement project in your life.
The Screening Roll That Actually Stays Put Without Sagging Into Your Garden Beds
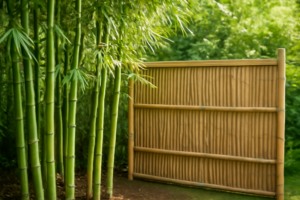
Most bamboo privacy screens fail because they’re installed too loose or with inadequate support—then they sag, separate, and expose the exact view you were trying to hide. A quality screening roll with proper slat density holds its shape season after season, even when wind-whipped or weighted down by climbing vines.
What Works
- The slat density is tight enough that you actually can’t see through it when installed properly—no light gap creep at the edges the way thinner rolls develop.
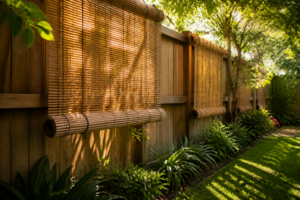
- After two seasons of weather, my screening hasn’t curled, warped, or split the way cheaper bamboo products do; the natural finish weathers to a soft gray rather than cracking.
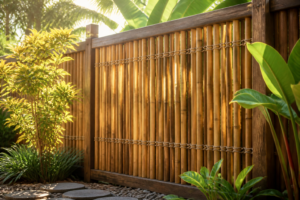
- At 6.5ft tall, it clears most sightlines without needing a second roll stacked on top, which saves installation time and keeps the visual weight of the screen proportional to your space.
What Doesn’t
- The roll is heavy—13 feet of it is genuinely awkward to maneuver solo, and if you’re mounting it on an existing fence, you’ll need two people to keep tension while fastening.
- Natural bamboo requires UV maintenance every 18 months or it will fade to a weathered gray; if you want the golden-honey color to last, you’re looking at an annual oil treatment that’s not included.
The first time I unrolled it along my fence line, I was convinced the weight would pull the whole thing down within a month, but proper steel posts and cable ties proved me wrong.
Tools and Materials You’ll Actually Need
Before you start, gather everything. Running back inside mid-project breaks momentum and honestly makes the whole thing feel harder than it is. Here’s what I used to get my screen up in an afternoon:
- The Bamboo Privacy Fence Roll 6ft x 13ft
- Steel U-channel posts (4×4 or 2×4, depending on your fence type) or lag bolts if attaching to an existing wooden fence
- Stainless steel cable ties—the kind you tighten with a ratchet, not plastic zip ties that snap in UV
- A drill with a Phillips bit and a 1/4-inch bit for pilot holes
- A circular saw or hand saw if you need to trim the roll to fit your space
- A tape measure, pencil, and work gloves (bamboo splinters are real)
- A helper—seriously, this is not optional
Step-by-Step Installation Process
Step 1: Measure Your Space and Plan Your Layout
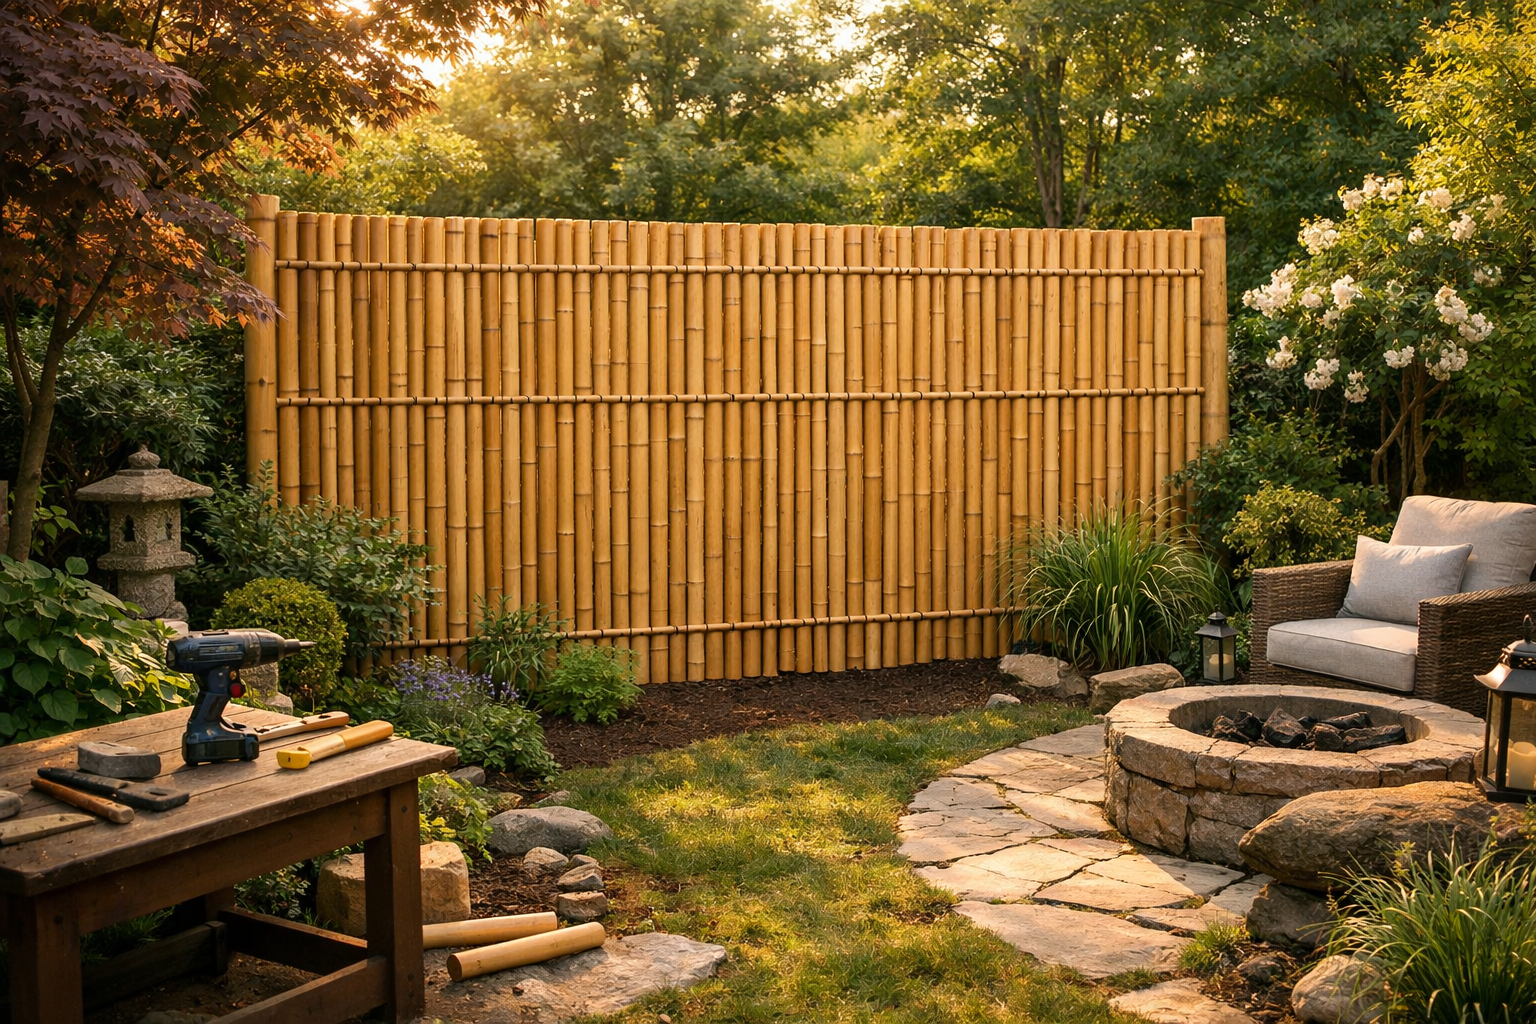
Measure the distance you want to cover and the height you need. The standard roll is 6.5 feet tall and 13 feet long. If you need more coverage, you can install multiple rolls side by side, overlapping them slightly at the edges. Mark your post locations with a pencil and measure twice—I can’t stress this enough.
Step 2: Install Your Support Posts
If you don’t have an existing fence, you’ll need to install vertical posts every 4 to 6 feet. Steel posts are worth the extra cost because they won’t rot, warp, or shift over time like pressure-treated wood. Set them in concrete, let it cure fully (at least 24 hours), and make sure they’re plumb using a level. This is the foundation of your entire screen—don’t rush it.
Step 3: Unroll and Position the Bamboo Screening
With your helper, carefully unroll the bamboo screening along your posts or fence line. Let it sit for a few minutes so it settles and any rolled tension releases. Position it so the top edge is level and aligned where you want it. I used temporary clamps to hold it in place while I fastened the cable ties.
Step 4: Secure with Stainless Steel Cable Ties
Starting at the top, thread stainless steel cable ties through the screening roll and around your posts or fence. Space them about 12 inches apart vertically and 18 inches apart horizontally. Use the ratchet to tighten each one firmly but not so tight that you crush the bamboo slats. This is where that helper becomes invaluable—one person holds tension while the other tightens.
Step 5: Trim and Finish
If your screening extends beyond your desired width, use a circular saw or hand saw to trim the excess. Sand the cut edges lightly to prevent splinters. Step back and inspect the entire installation for gaps, sagging, or areas that need adjustment.
Common Mistakes to Avoid
Don’t use plastic zip ties—they degrade in sunlight and will snap within a season. Don’t install the screening too tight; bamboo moves slightly with humidity changes, and over-tensioning can cause cracking. Don’t skip the helper; trying to hold and fasten a 13-foot roll solo is a recipe for frustration and a poorly aligned screen. And don’t assume you need to seal or stain it immediately—natural bamboo weathers beautifully, and you can decide later if you want to maintain the original color.
Grab the Bamboo Privacy Fence Roll 6ft x 13ft and don’t skimp on your support hardware. The whole project took me about three hours, and I’ve had zero regrets—or surprise views from my neighbor’s window—ever since.
This post contains affiliate links. As an Amazon Associate, I earn from qualifying purchases at no extra cost to you.
Bamboo Privacy Fence Roll 6ft x 13ft
I’ve installed this twice now—the slats don’t gap or split like thinner rolls, and it weathers cleanly instead of cracking.
Check Price on Amazon →