I want you to picture this: me, standing in my backyard at dusk, covered head to toe in soot, holding a garden hose in one hand and a half-melted oven mitt in the other, while my neighbor Dave leaned over the fence with a look that said he was genuinely reconsidering our friendship. That was the day I accidentally turned my bamboo pruning session into a neighborhood smoke event — and somehow, accidentally, made the best batch of biochar I’ve ever produced. If you’ve been curious about making biochar from bamboo, buckle up, because I have some hard-won wisdom to share.
Every spring I hack back my running bamboo with the kind of ruthless enthusiasm that my plants probably resent. I end up with a mountain of culms, branches, and leafy debris that always makes me ask the same question: now what? Burning it in a regular bonfire feels wasteful. Composting bamboo takes forever because the culms are so fibrous. This year I decided to try something I’d been reading about for months — turning those prunings into biochar to feed back into my garden beds. Reader, it did not go smoothly at first. But the ending is genuinely great, so stick with me.
What Is Biochar and Why Does Bamboo Make Such Good Stuff?
Biochar is essentially charcoal that’s been made specifically for use as a soil amendment. The process — called pyrolysis — involves burning organic material at high temperatures with limited oxygen so it carbonizes rather than turning to ash. The result is a porous, stable carbon structure that can hang out in your soil for hundreds of years, improving drainage, feeding beneficial microbes, and helping retain nutrients that would otherwise leach away.
Bamboo is genuinely one of the best feedstocks for biochar, and here’s why. Bamboo culms have an unusually high silica content and a dense cellular structure, which means they pyrolyze beautifully into hard, highly porous char. Studies have shown that bamboo biochar tends to have a very high surface area compared to biochar made from softer wood, which translates directly to better microbial habitat in your soil. Basically, your bamboo prunings are not garden waste — they’re gold waiting to be unlocked.
My Chaotic First Attempt at Making Biochar From Bamboo
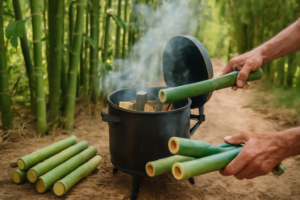
Here’s where I confess my spectacular mistake. I’d watched approximately eleven YouTube videos on the “cone pit method” for making biochar, which involves digging a cone-shaped pit, burning material in layers, and quenching the char before it turns to ash. Straightforward enough. I dug my pit, I stacked my bamboo prunings, and I got a beautiful fire going. I was feeling very competent.
What I had failed to account for was that bamboo, being hollow and full of air pockets, burns with extraordinary enthusiasm. Within about four minutes my “controlled smoldering process” had become what I can only describe as a bamboo rocket launch. Segments were popping like firecrackers. Embers were arcing across my yard in cheerful little parabolas. My dog sprinted inside through her own doggy door and did not come back out for two hours. Dave appeared at the fence. “You good?” he asked, in the tone of a man who was already composing a non-emergency phone call in his head.
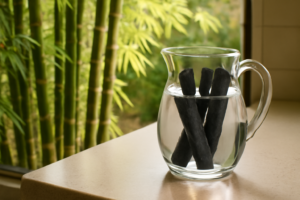
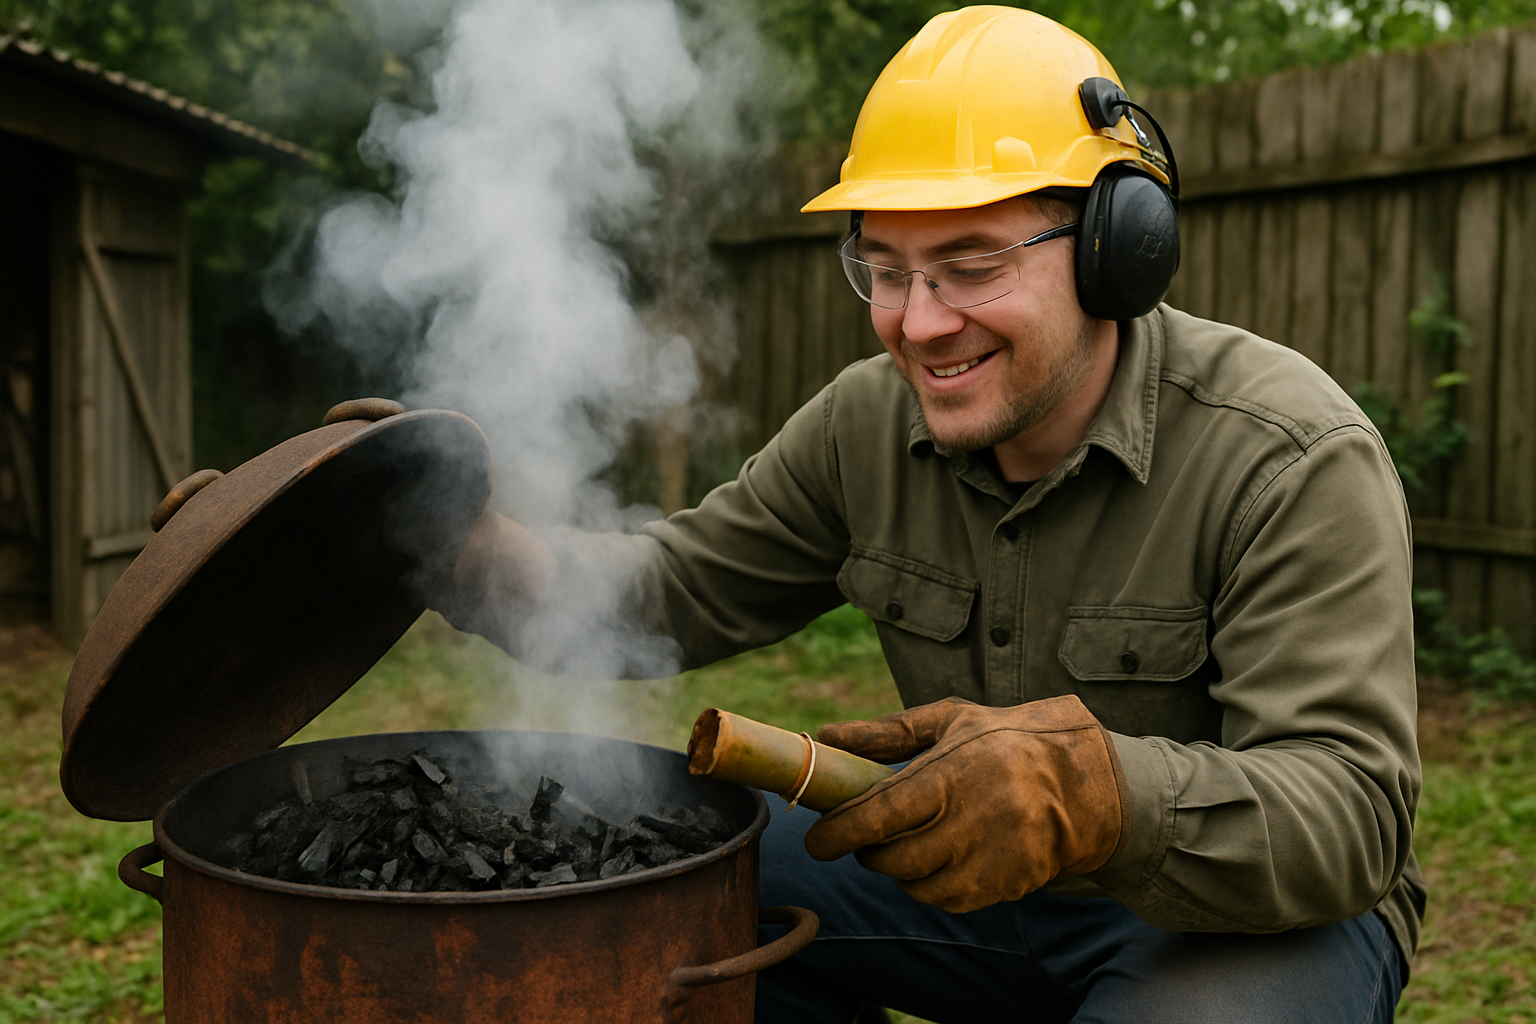
I quenched the whole thing with my garden hose in a mild panic, fully expecting to find a pit of useless wet ash. Instead, I found a gorgeous batch of deep black, chunky bamboo char — porous, solid, and genuinely beautiful. Turns out my accidental fast burn had actually created excellent biochar. The key, as I later confirmed in my reading, is getting the material hot fast and quenching quickly. I had done this entirely by accident.
Practical Tips for Making Biochar From Bamboo the Right Way
If you’d like to replicate my results without the neighborhood drama, here’s what I’d actually recommend:
- Cut your culms into shorter sections (12–18 inches). This reduces the explosive popping that happens when air is trapped in long bamboo tubes. Splitting them lengthwise is even better.
- Use the cone pit or trench method. Dig a cone-shaped or trench-style pit about 2 feet deep. This naturally limits oxygen flow and encourages pyrolysis rather than full combustion.
- Burn in layers, not all at once. Add bamboo in stages, waiting for each layer to char before adding more. This keeps things manageable and gives you better quality char.
- Watch the smoke color. White or bluish smoke means you’re in good pyrolysis territory. Thick black smoke means too much oxygen or unburned material.
- Quench before it turns to ash. Once the material is fully charred and glowing orange, douse it thoroughly with water. You want char, not ash — ash has almost none of the soil benefits.
- Check local regulations first. Open burning rules vary wildly by area. Do a quick search for your county or municipality before lighting anything up.
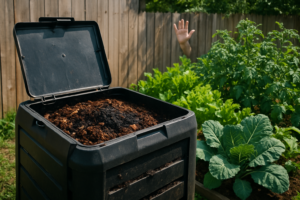
Once your biochar is made and cooled, charge it before adding it to soil. Raw biochar is actually nutrient-hungry and will temporarily pull nitrogen from your soil if added dry. Mix it into compost, soak it in diluted liquid fertilizer, or blend it with worm castings for a few weeks first. Your plants will thank you enormously.
Not Ready to DIY? Grab Some Quality Bamboo Biochar Instead
Look, not everyone has a backyard suitable for a pit fire, and not everyone wants their neighbor Dave staring at them over a fence. If you want to get biochar into your garden without the adventure, there are some genuinely excellent ready-made options worth having on hand.
The Pruning Saw That Actually Handles Green Bamboo Canes Without Binding
When you’re harvesting fresh bamboo canes for biochar or any other project, a dull or poorly designed saw will jam halfway through, waste time, and make you question the whole operation. A quality pruning saw designed for green wood changes everything — no more crushing canes or fighting binding mid-cut.
What works
- Cuts through green canes in two to three strokes instead of five or six, which matters when you’ve got fifty culms waiting to come down.
- The curved blade follows the natural angle of the cane without twisting your wrist, and it doesn’t splinter or crush the cut end before it hits the ground.
- Sharp enough that I can actually maintain it myself — a few passes with a file keeps it ready for the next harvest cycle, no special tools needed.
What doesn’t
- The handle is smaller than I expected, which means on thick-cane varieties like my Moso, my gloved hand can feel cramped after twenty or thirty cuts.
- The blade does lose its edge faster than advertised if you’re cutting through dirt-covered canes or hitting soil at the base — which happens more often than you’d think in a real garden.
I nearly gave up on this saw after my first season when the blade started binding on wet green canes, but I realized I wasn’t cleaning it between cuts — once I started wiping the blade every few canes, it worked like it was supposed to. → Check it out on Amazon
→ Check it out
After fifty harvests, this curved blade still holds an edge I can sharpen myself with a file.
Check Price on Amazon →This post contains affiliate links. As an Amazon Associate, I earn from qualifying purchases at no extra cost to you.